My weekend task that took a while longer than I expected! Finally got the stereo working from either the starter or the house battery. As the house battery has plenty of solar and I had upgraded all the speakers it made sense and I wish I had done it earlier.
In my case, I don’t have a split charge relay in the engine bay any more, so I have no house power there to split off. My relay is in the back. So running in cable time!
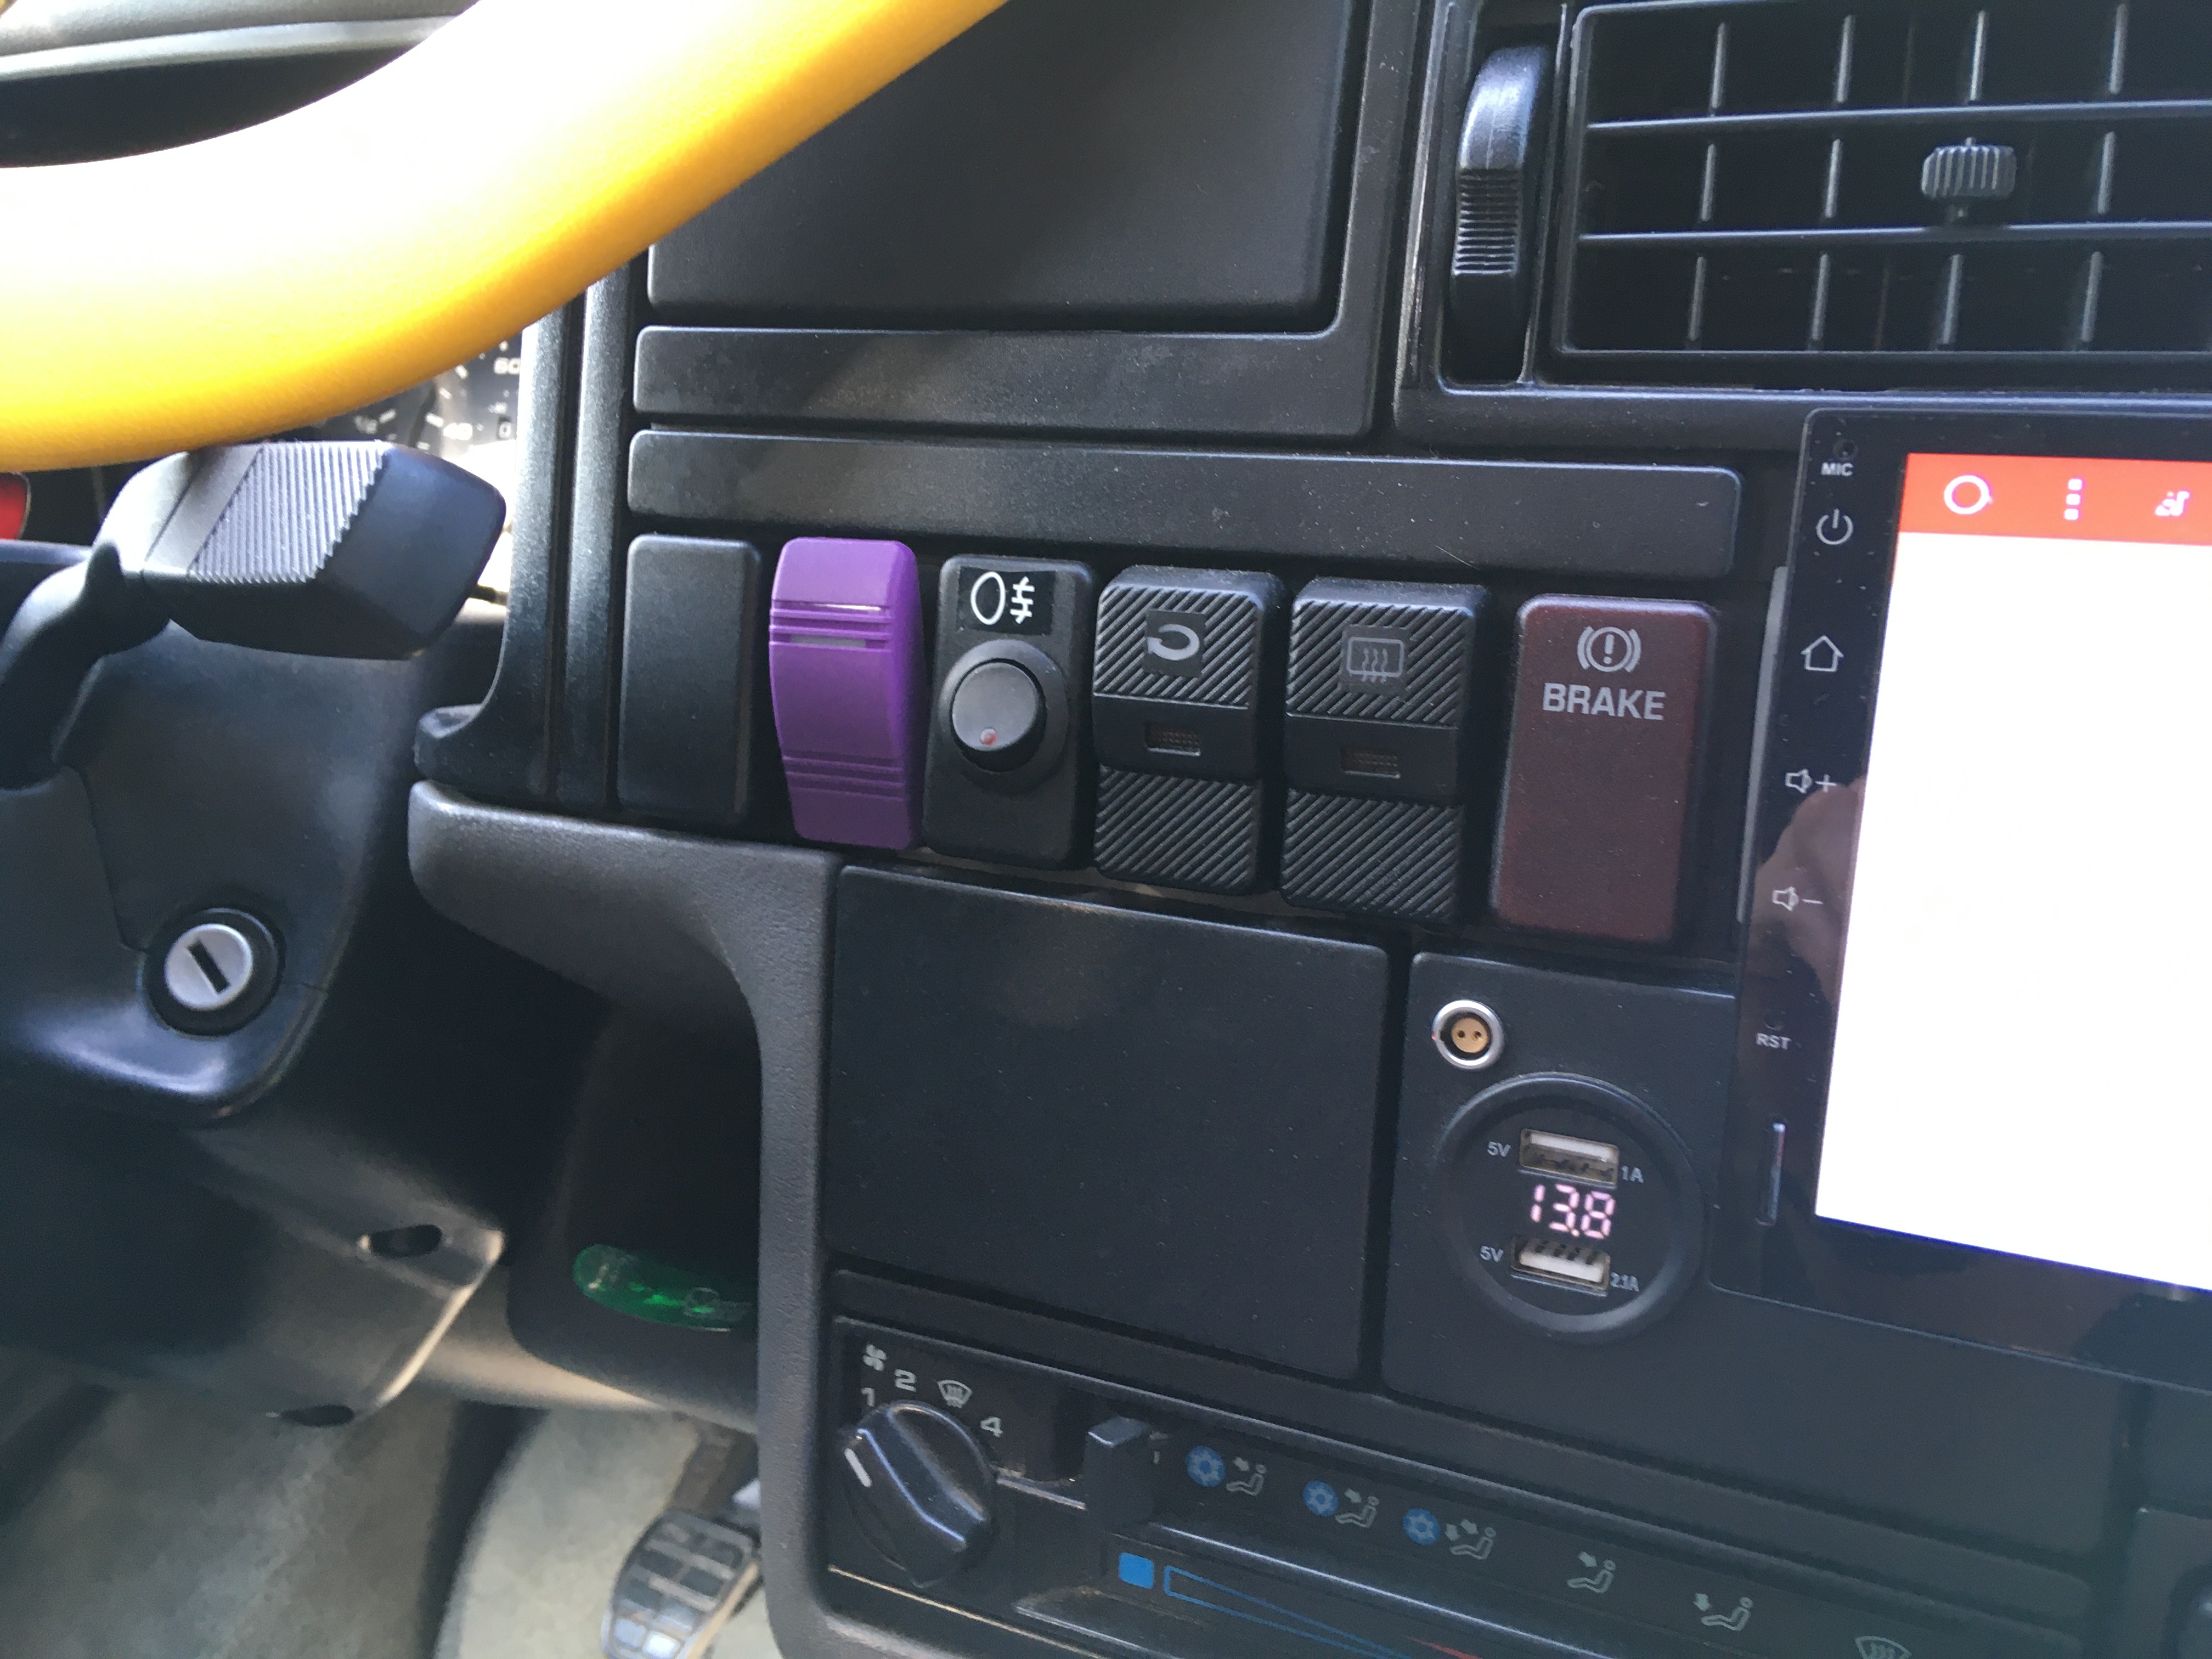
I used a Carling double pole single throw (on-on) switch to switch both the main un-switched radio feed and the aux feed that powers it up. Now in one position it works in the normal way, switched on and off with the ignition and powered from the alternator, in the second its on and all power comes from the leisure battery. I would have used some slightly larger, better fit switches but they only came illuminated and were very expensive and the Carling had more options. I got an actuator with a battery engraved on it and a purple one which was on back order but seemed more fun (and arrived the next day)
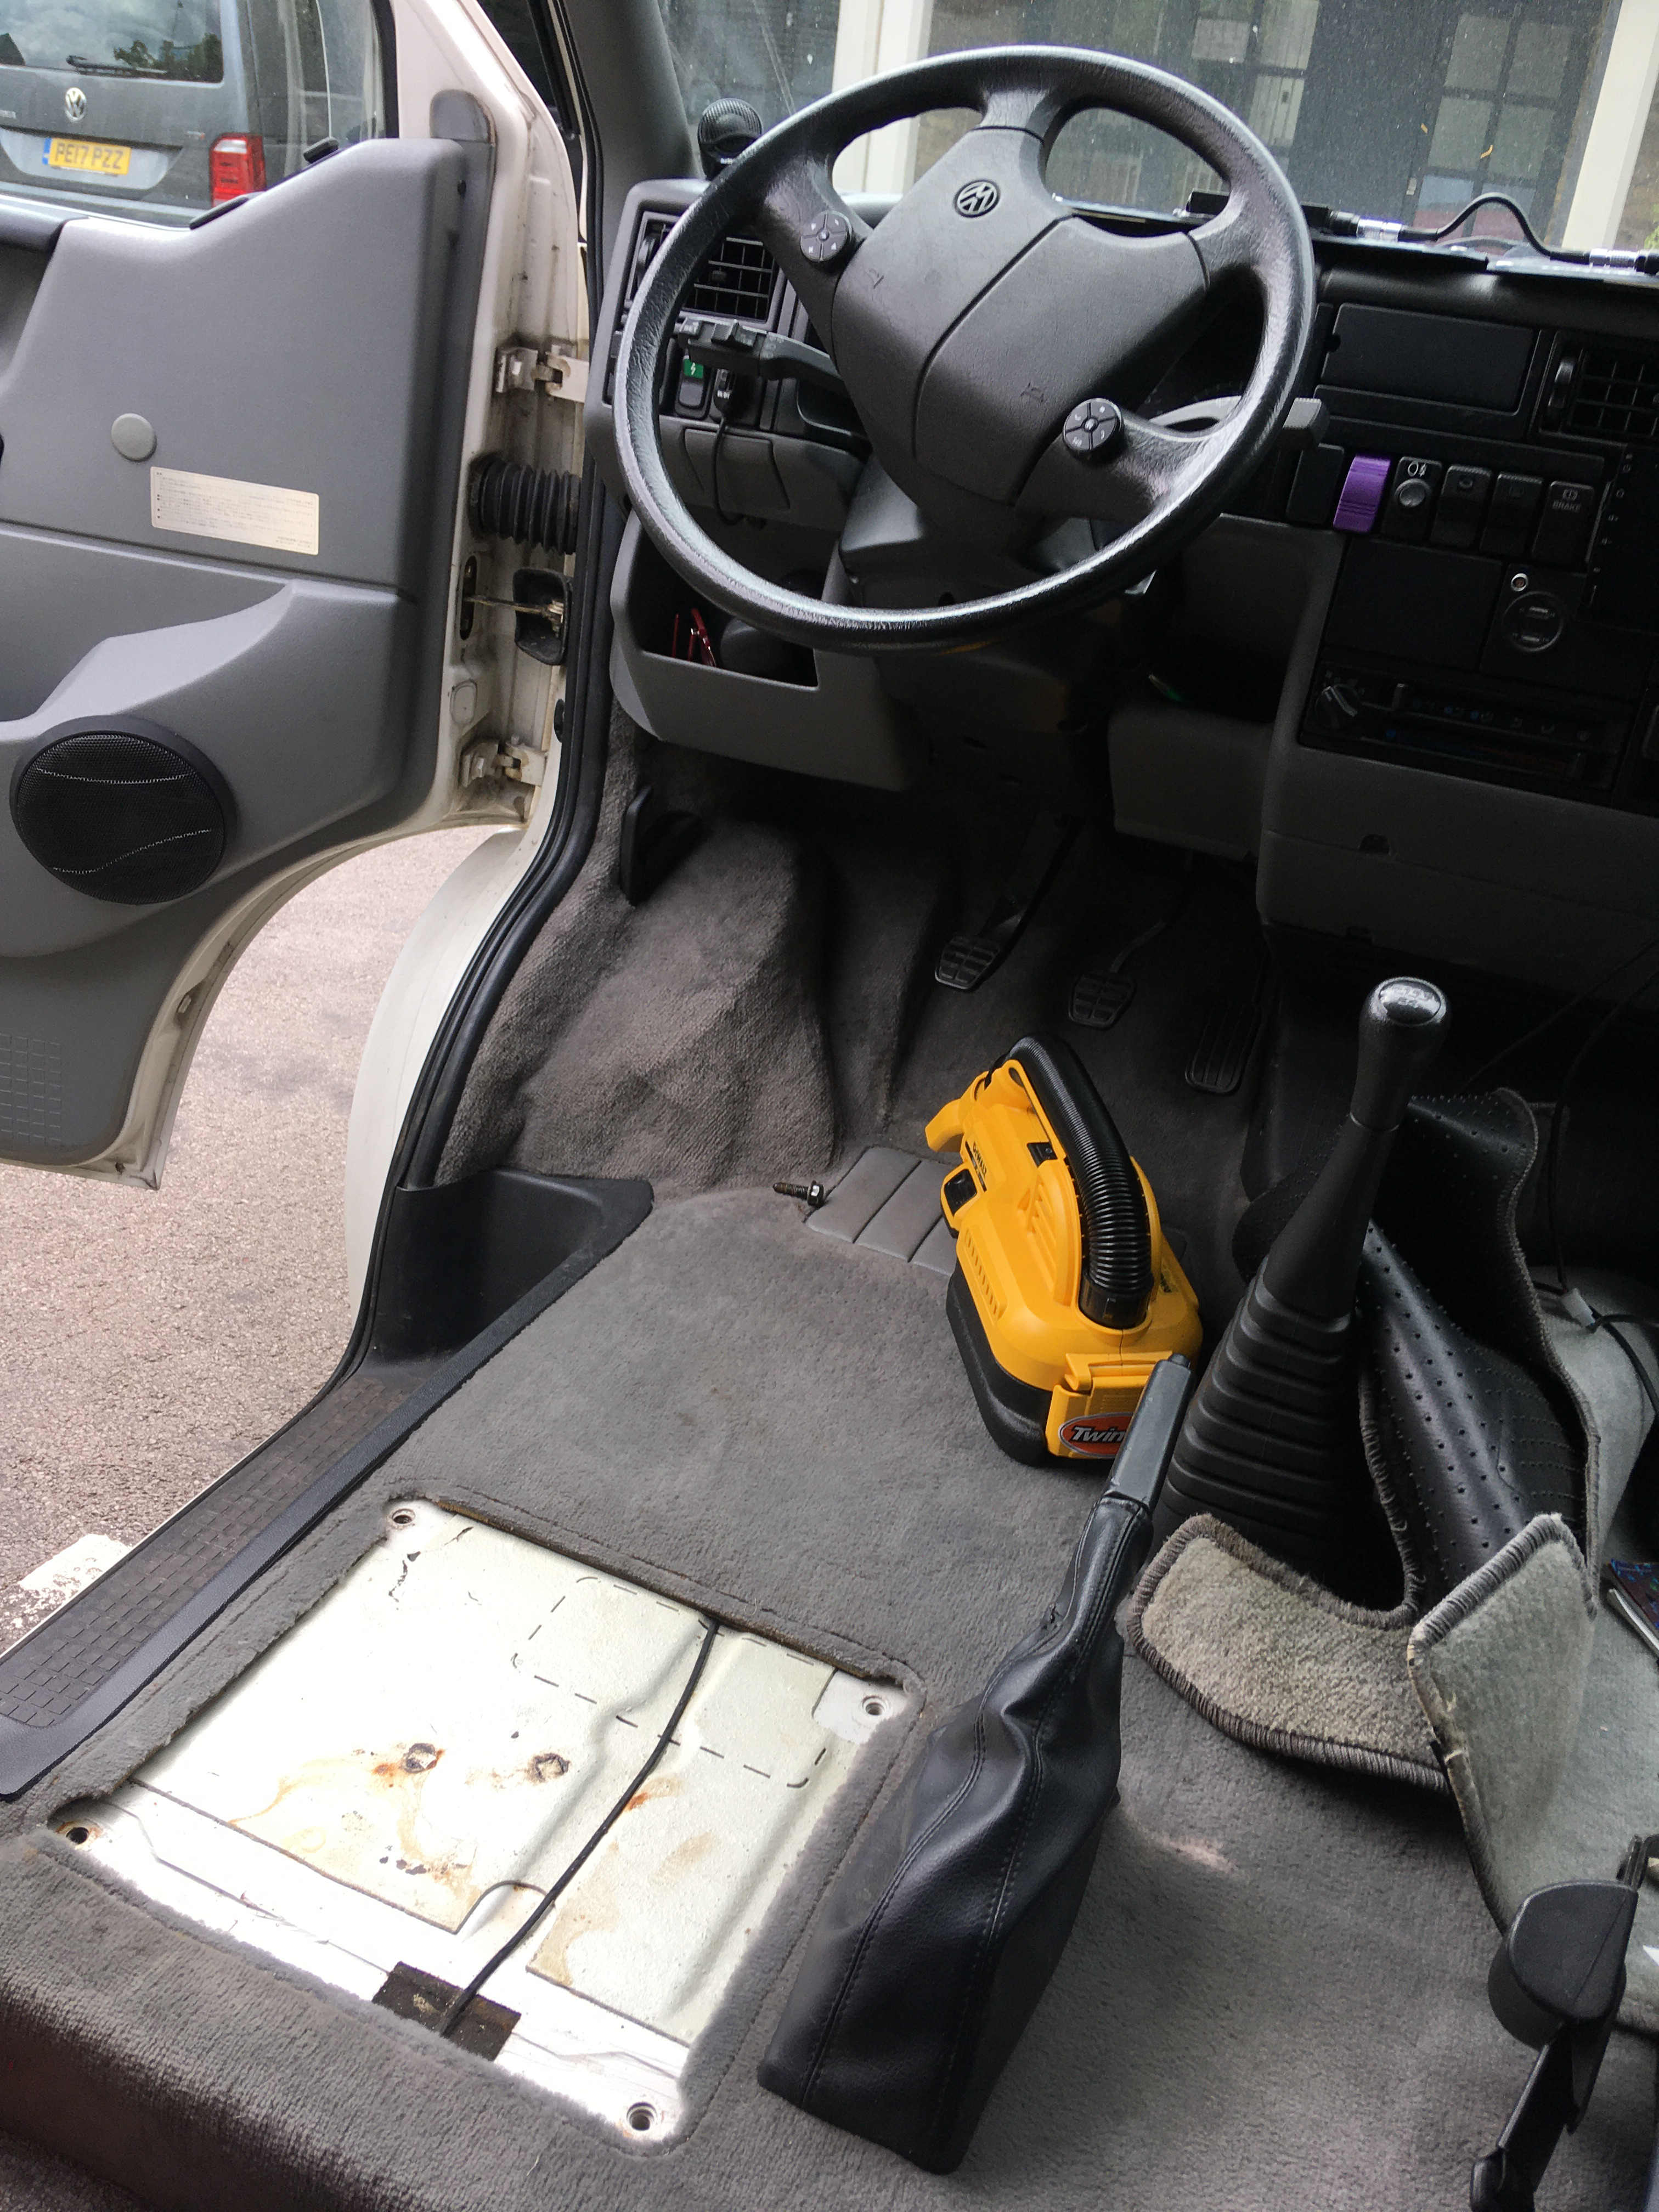
4mm cable was run in parallel with the Winnebago rear speaker cables, which meant seat out.
I ran in a 4mm thinwall cable between the switch and behind the fridge following the existing speaker cables. To lift the carpet enough the seat has to come out. This then joined onto the old fridge cable that I upgraded in the past.
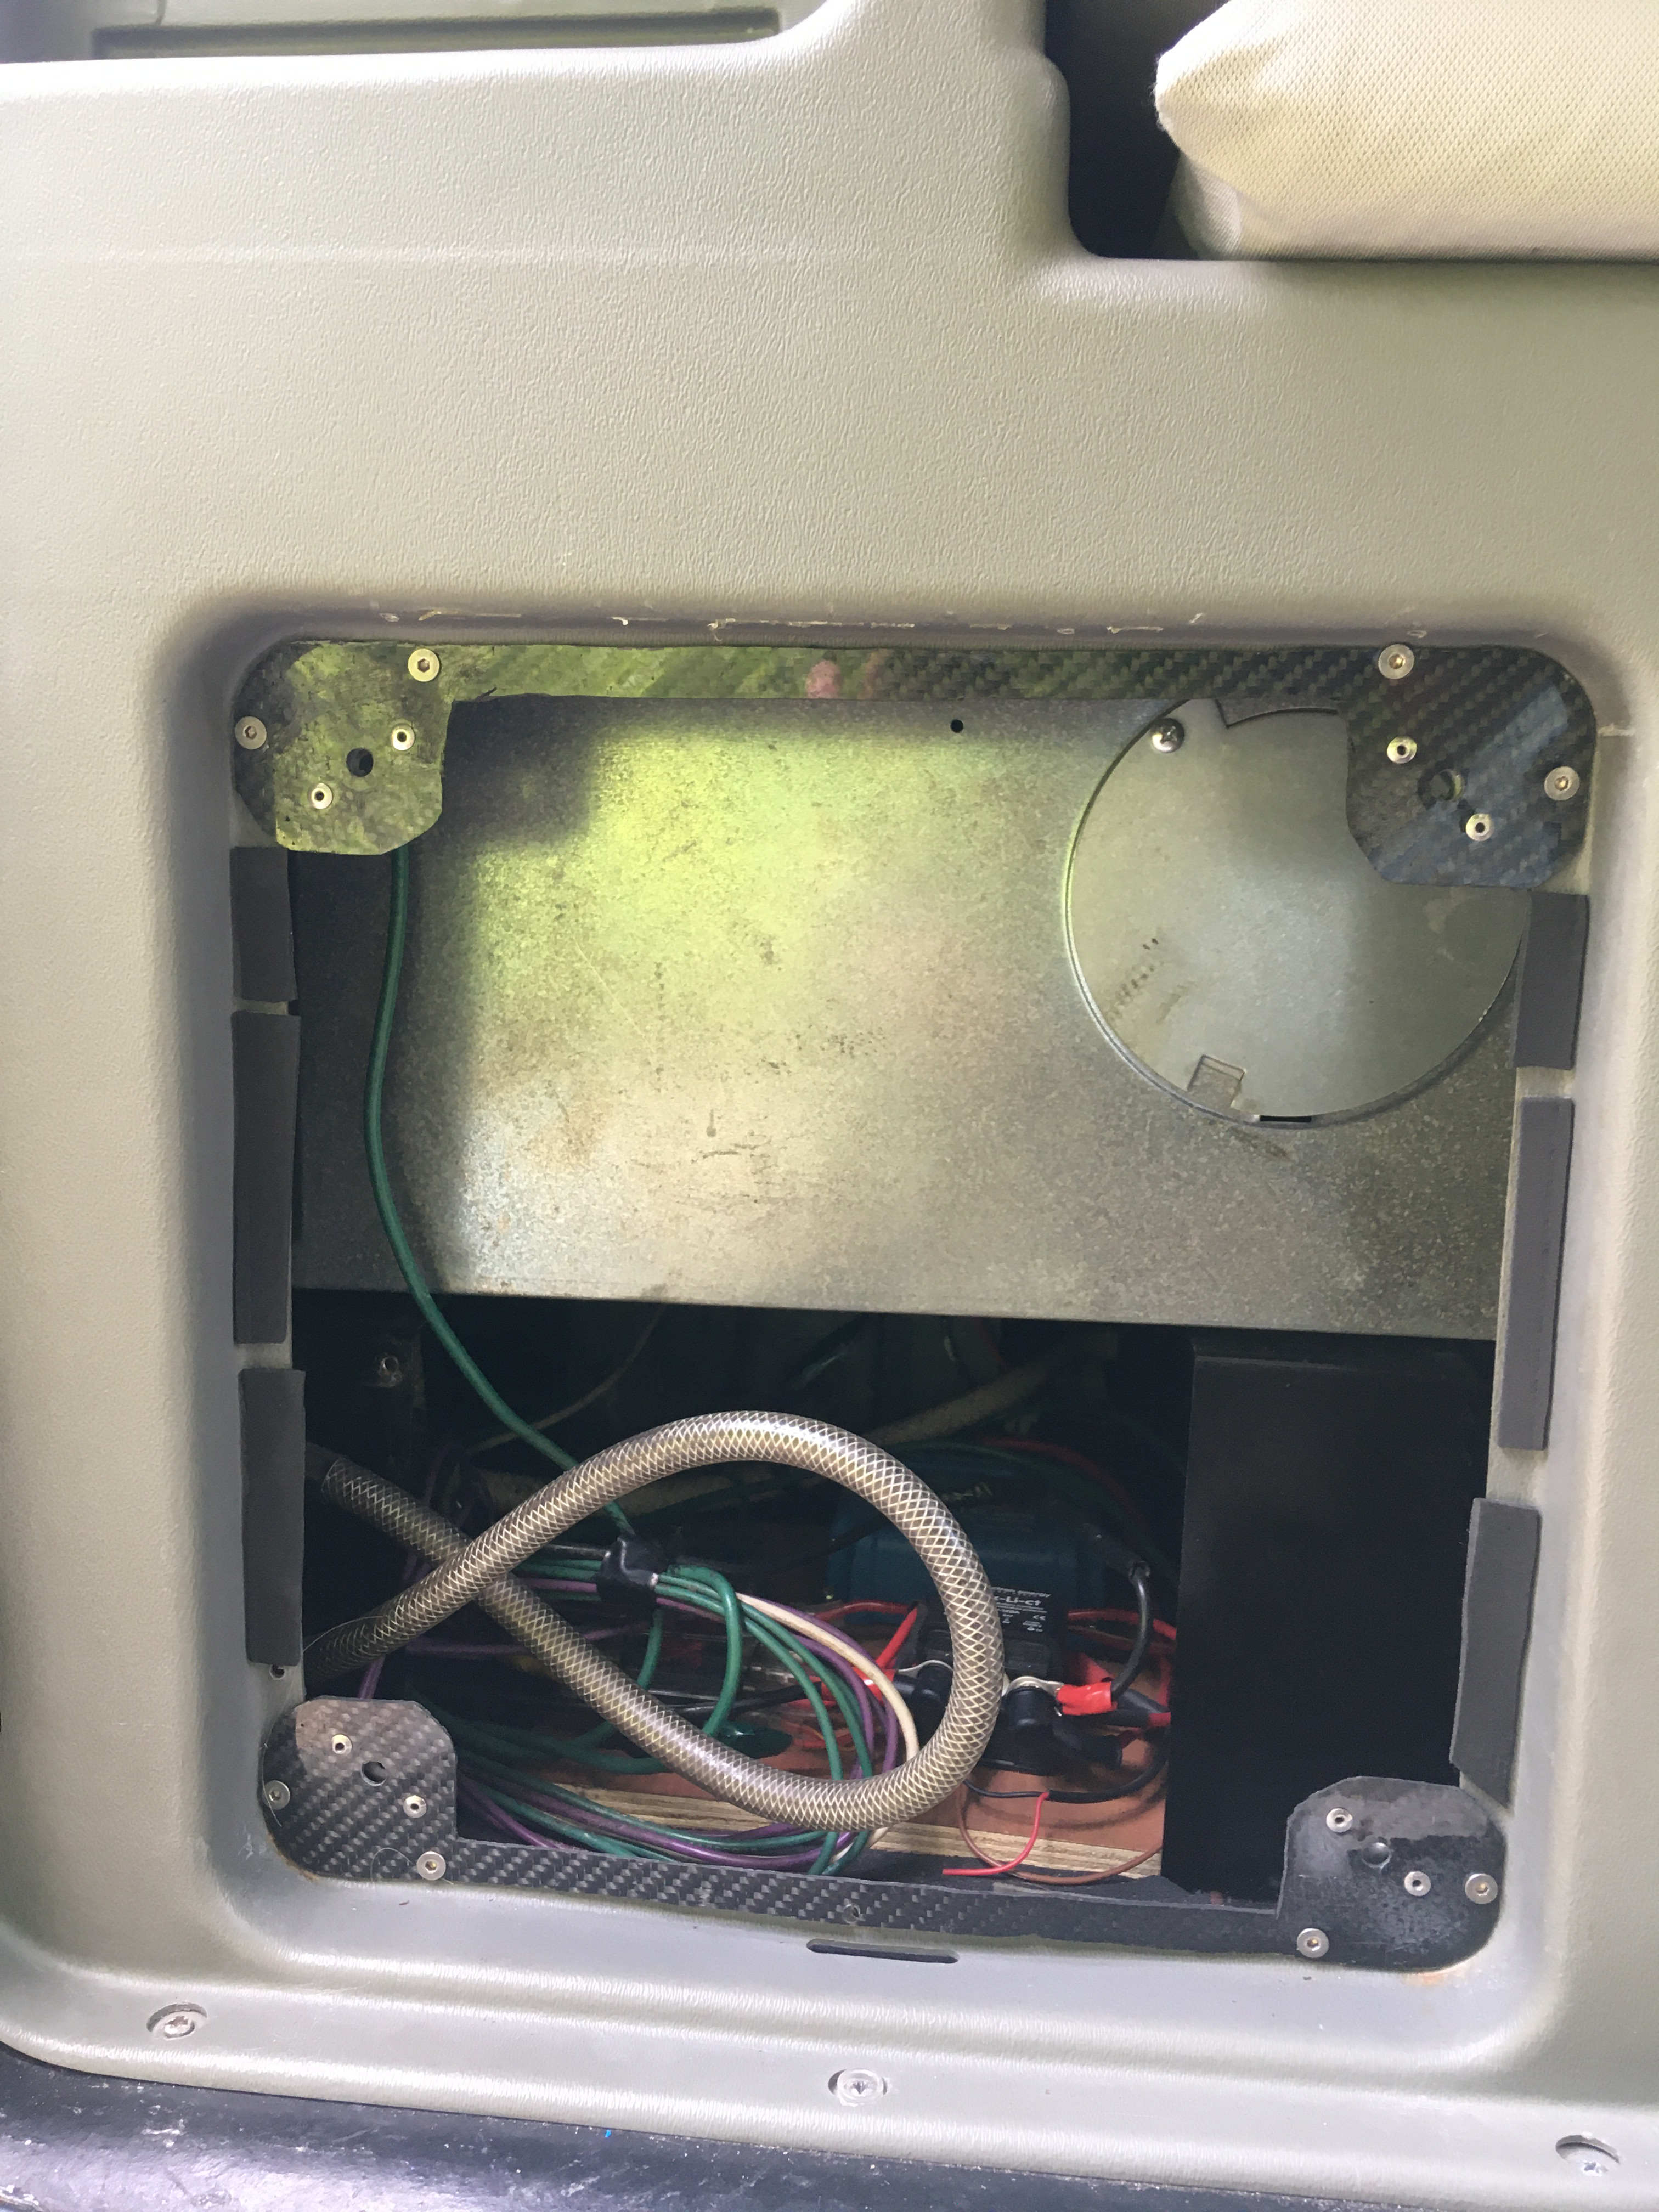
In my case, my fuse box is behind the rear plate, not on it. Hated that plate!
I have a 6-way fuse board in the back which replaces the original board. I hated that thing, it was heavy, I didn’t like the loom dragging out everytime I needed to get in there, all the screw holes were stripped (wood screws into plastic is not a sensible solution) and the bloody door was always hitting me on the head.
While I was doing a bit of rewiring for the new circuit, I also took the time to modify the rear vents with metal clips for the screws and added a new set in the middle of the largest vent. All mine were stripped and the vents banged about.
Coronavirus upgrade time! When I got Vanity, she had a severely damaged stereo installation. All of the cab speakers had been blown. Some made some vague noises but the paper cones in the door cards were completely broken and no longer attached. One of the tweeters worked. The only working speakers in the van were the two rear Winnebago fitted speakers. Unfortunatly, only one of the two worked as the stereo had only one channel working!
My initial upgrade path needed to give me a working stereo. Allow me to connect my tunes. Give me a reversing camera screen.
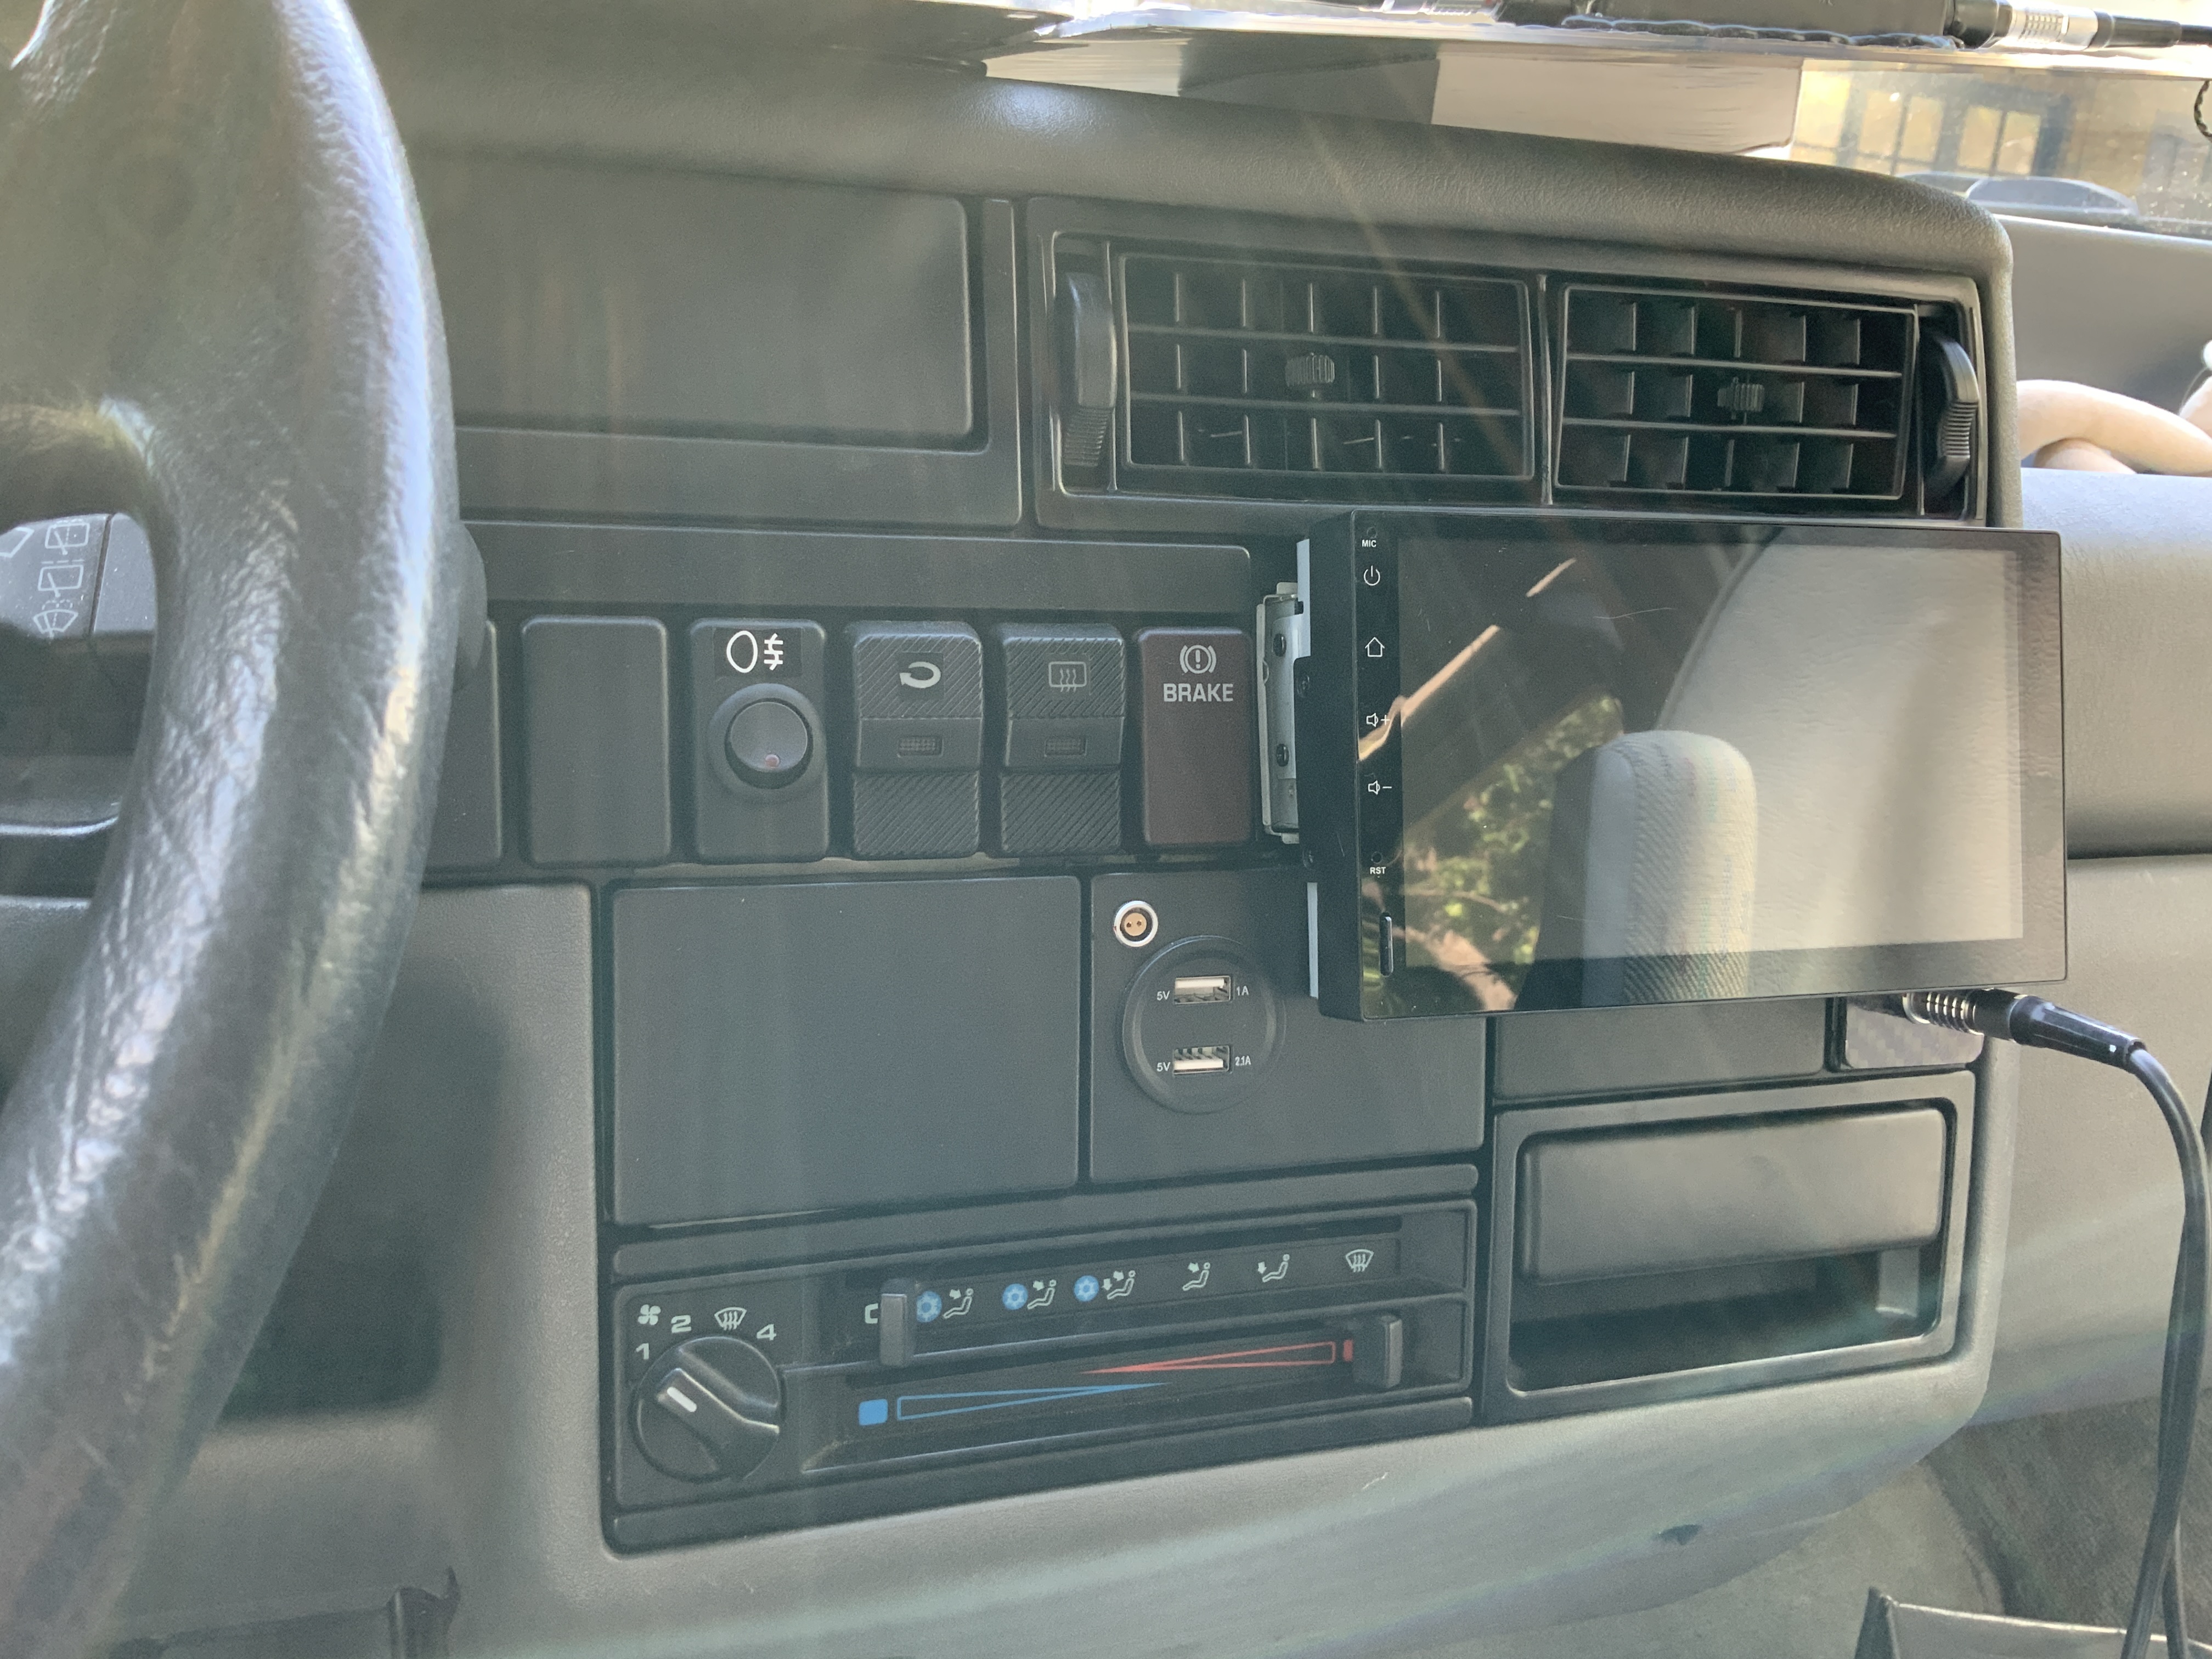
Finding a single DIN stereo that has the screen extending down (rather than up in front of the vents) proved a search. I ended up finding a cheap Android Xtrons unit.
Gives GPS via built in android app.
Gives me internet radio without a phone (I used it initially with a generic USB 4G dongle but it now works on van wifi)
Gives me my music library on a SD card which syncs to my itunes library over wifi when at home (iSyncr)
Can do bluetooth recieving.
Has reversing camera input and can have steering wheel controls
Xtrons TR704L Head unit. Dash also includes ignition switched USB charger with volt meter, Lemo 0B power for GPS and a Lemo 1B power input to battery for solar charging of starter battery (currently plugged in).
Upgrading speakers was a little tricky as the door speakers are somewhat unusual 5″ units. As a stop gap (a 2 year stop gap), I slung some 100mm full range coaxials into the existing tweeter holes (Hertz)
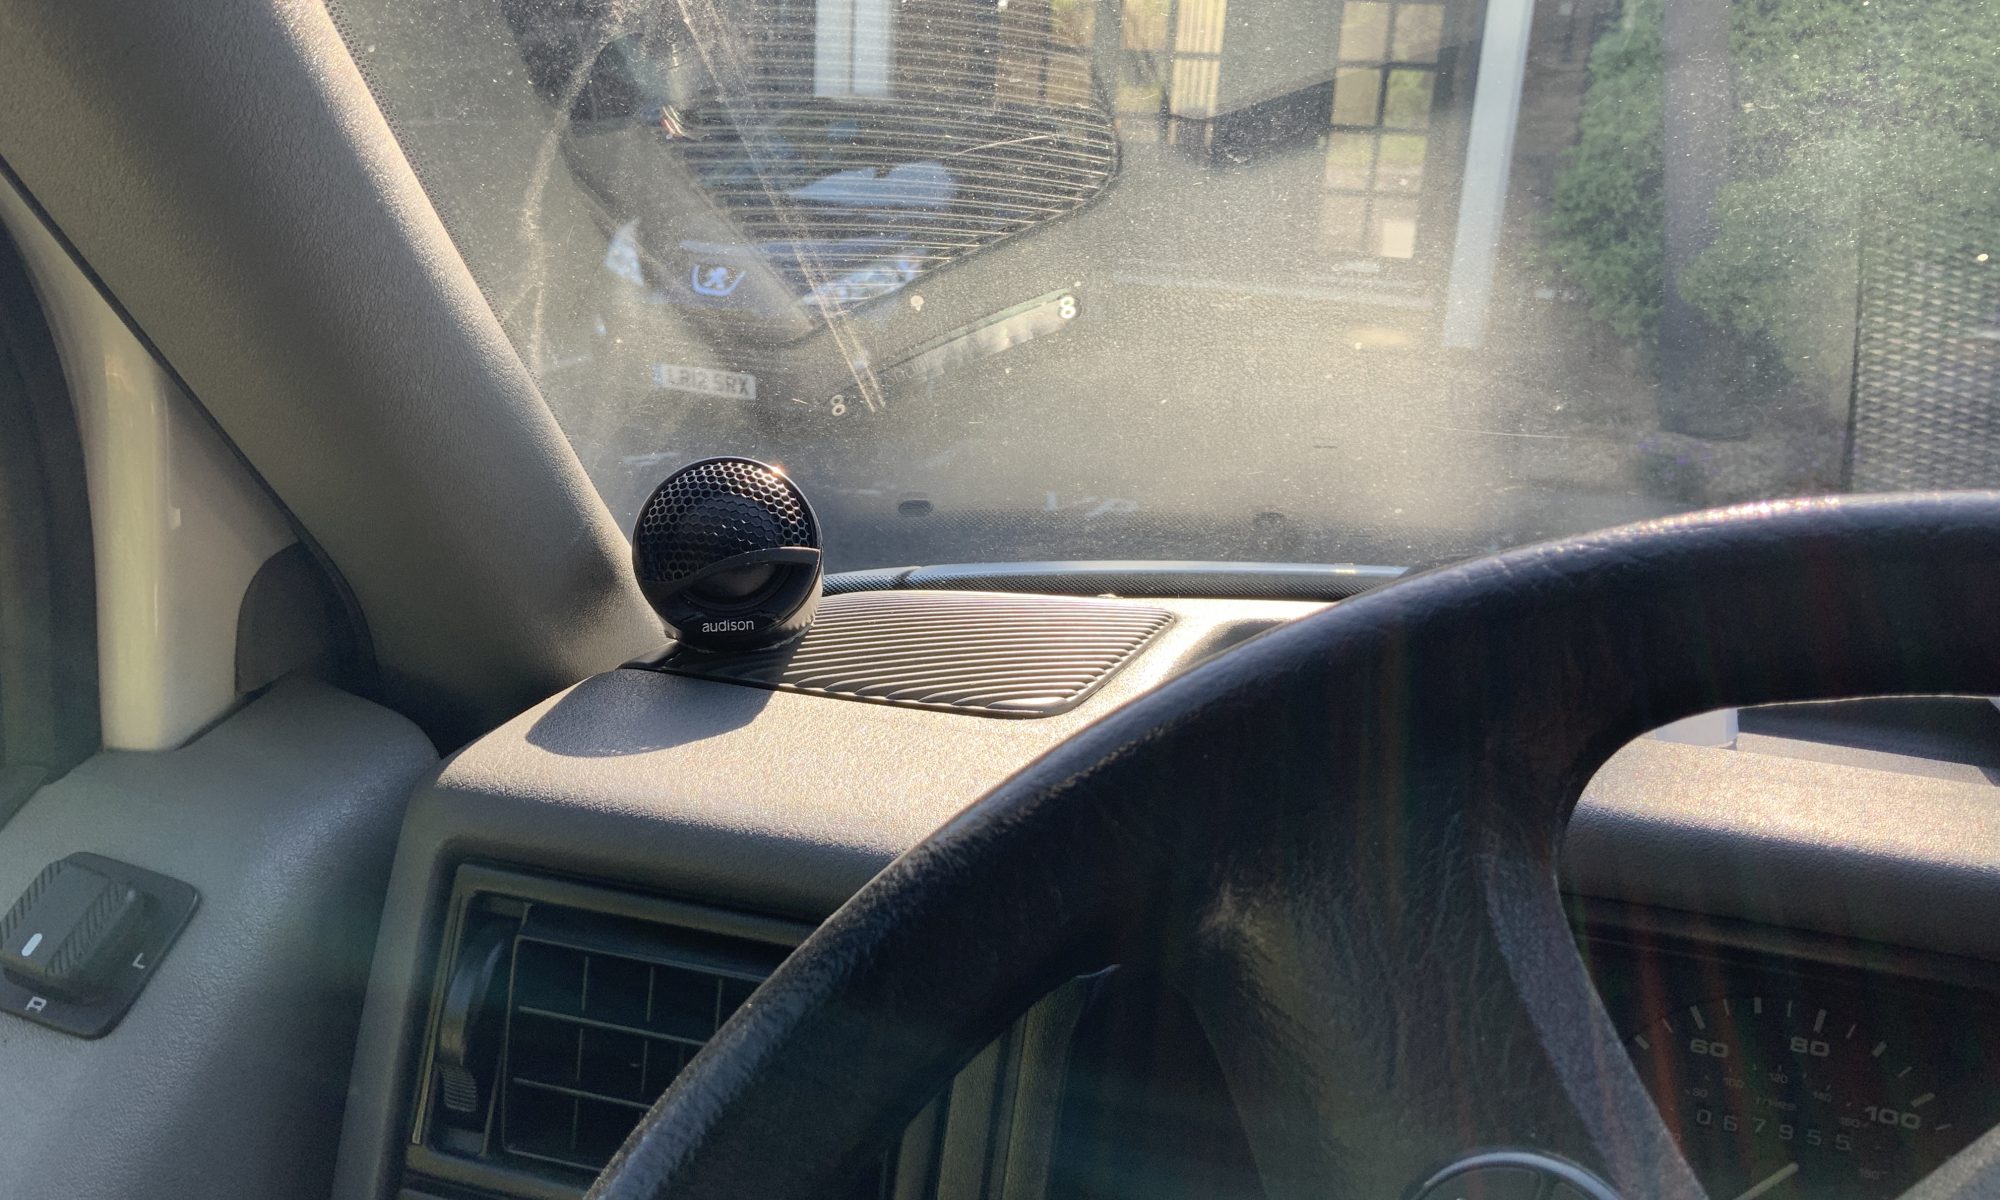
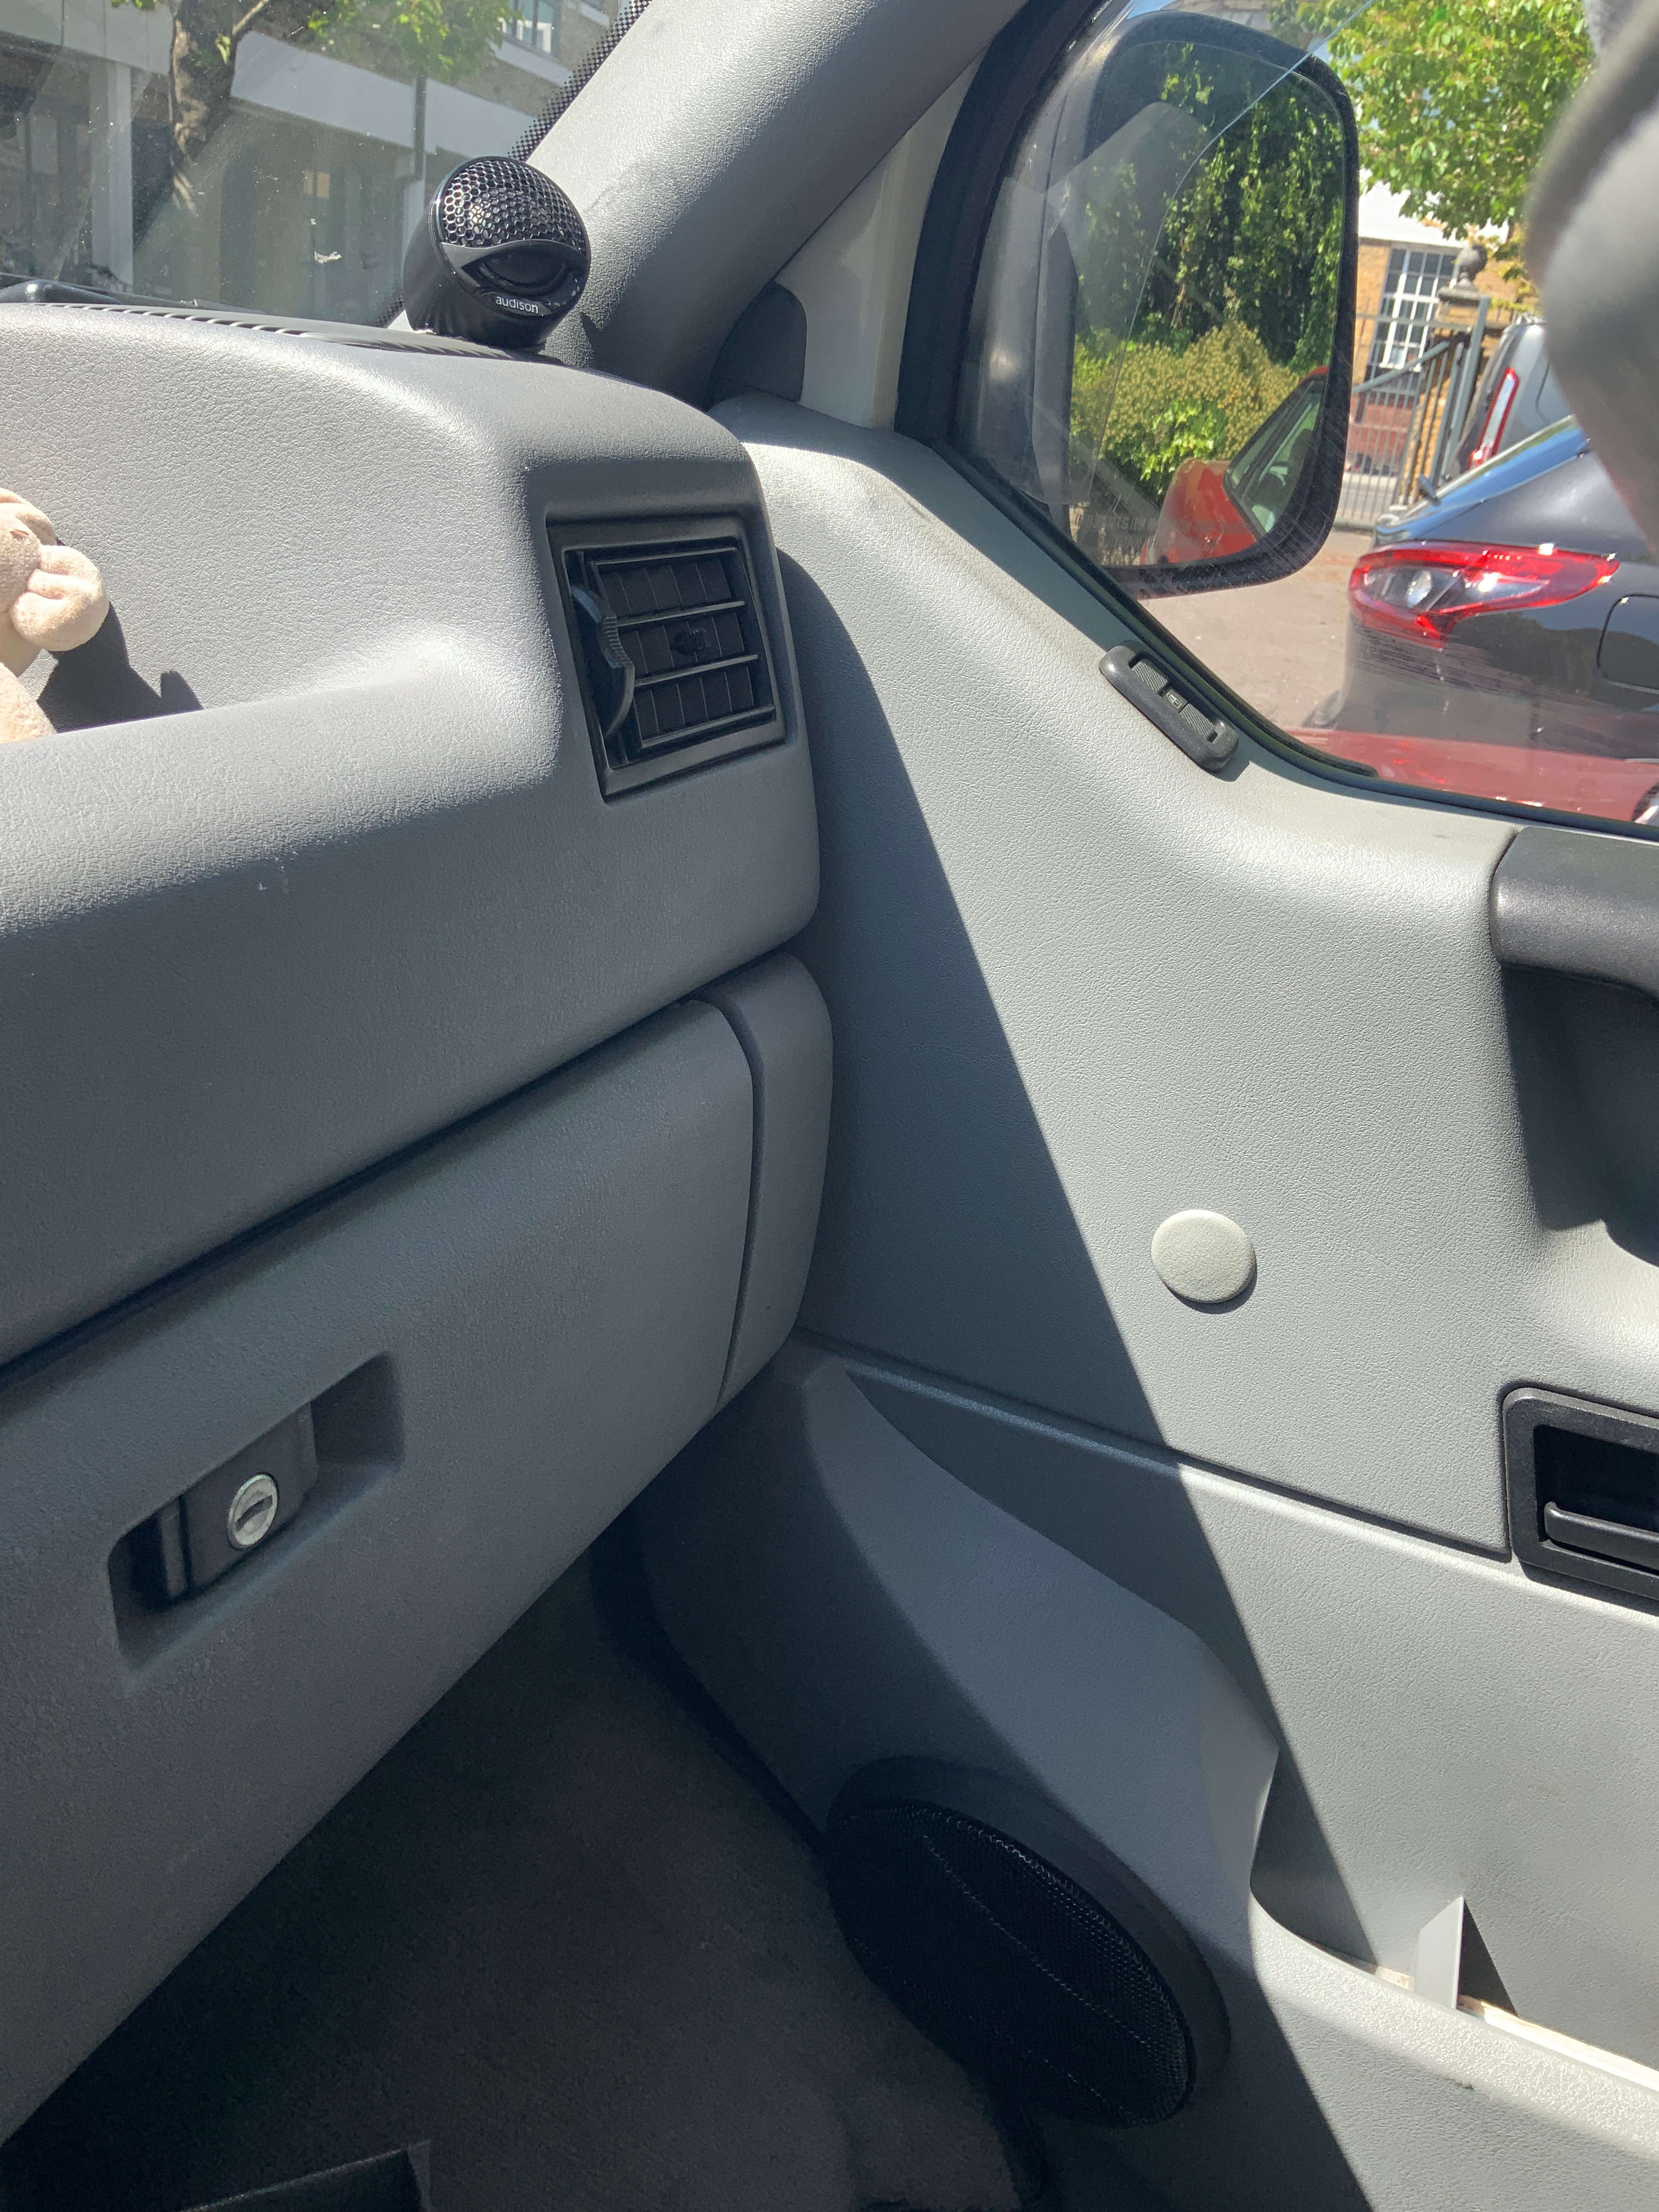
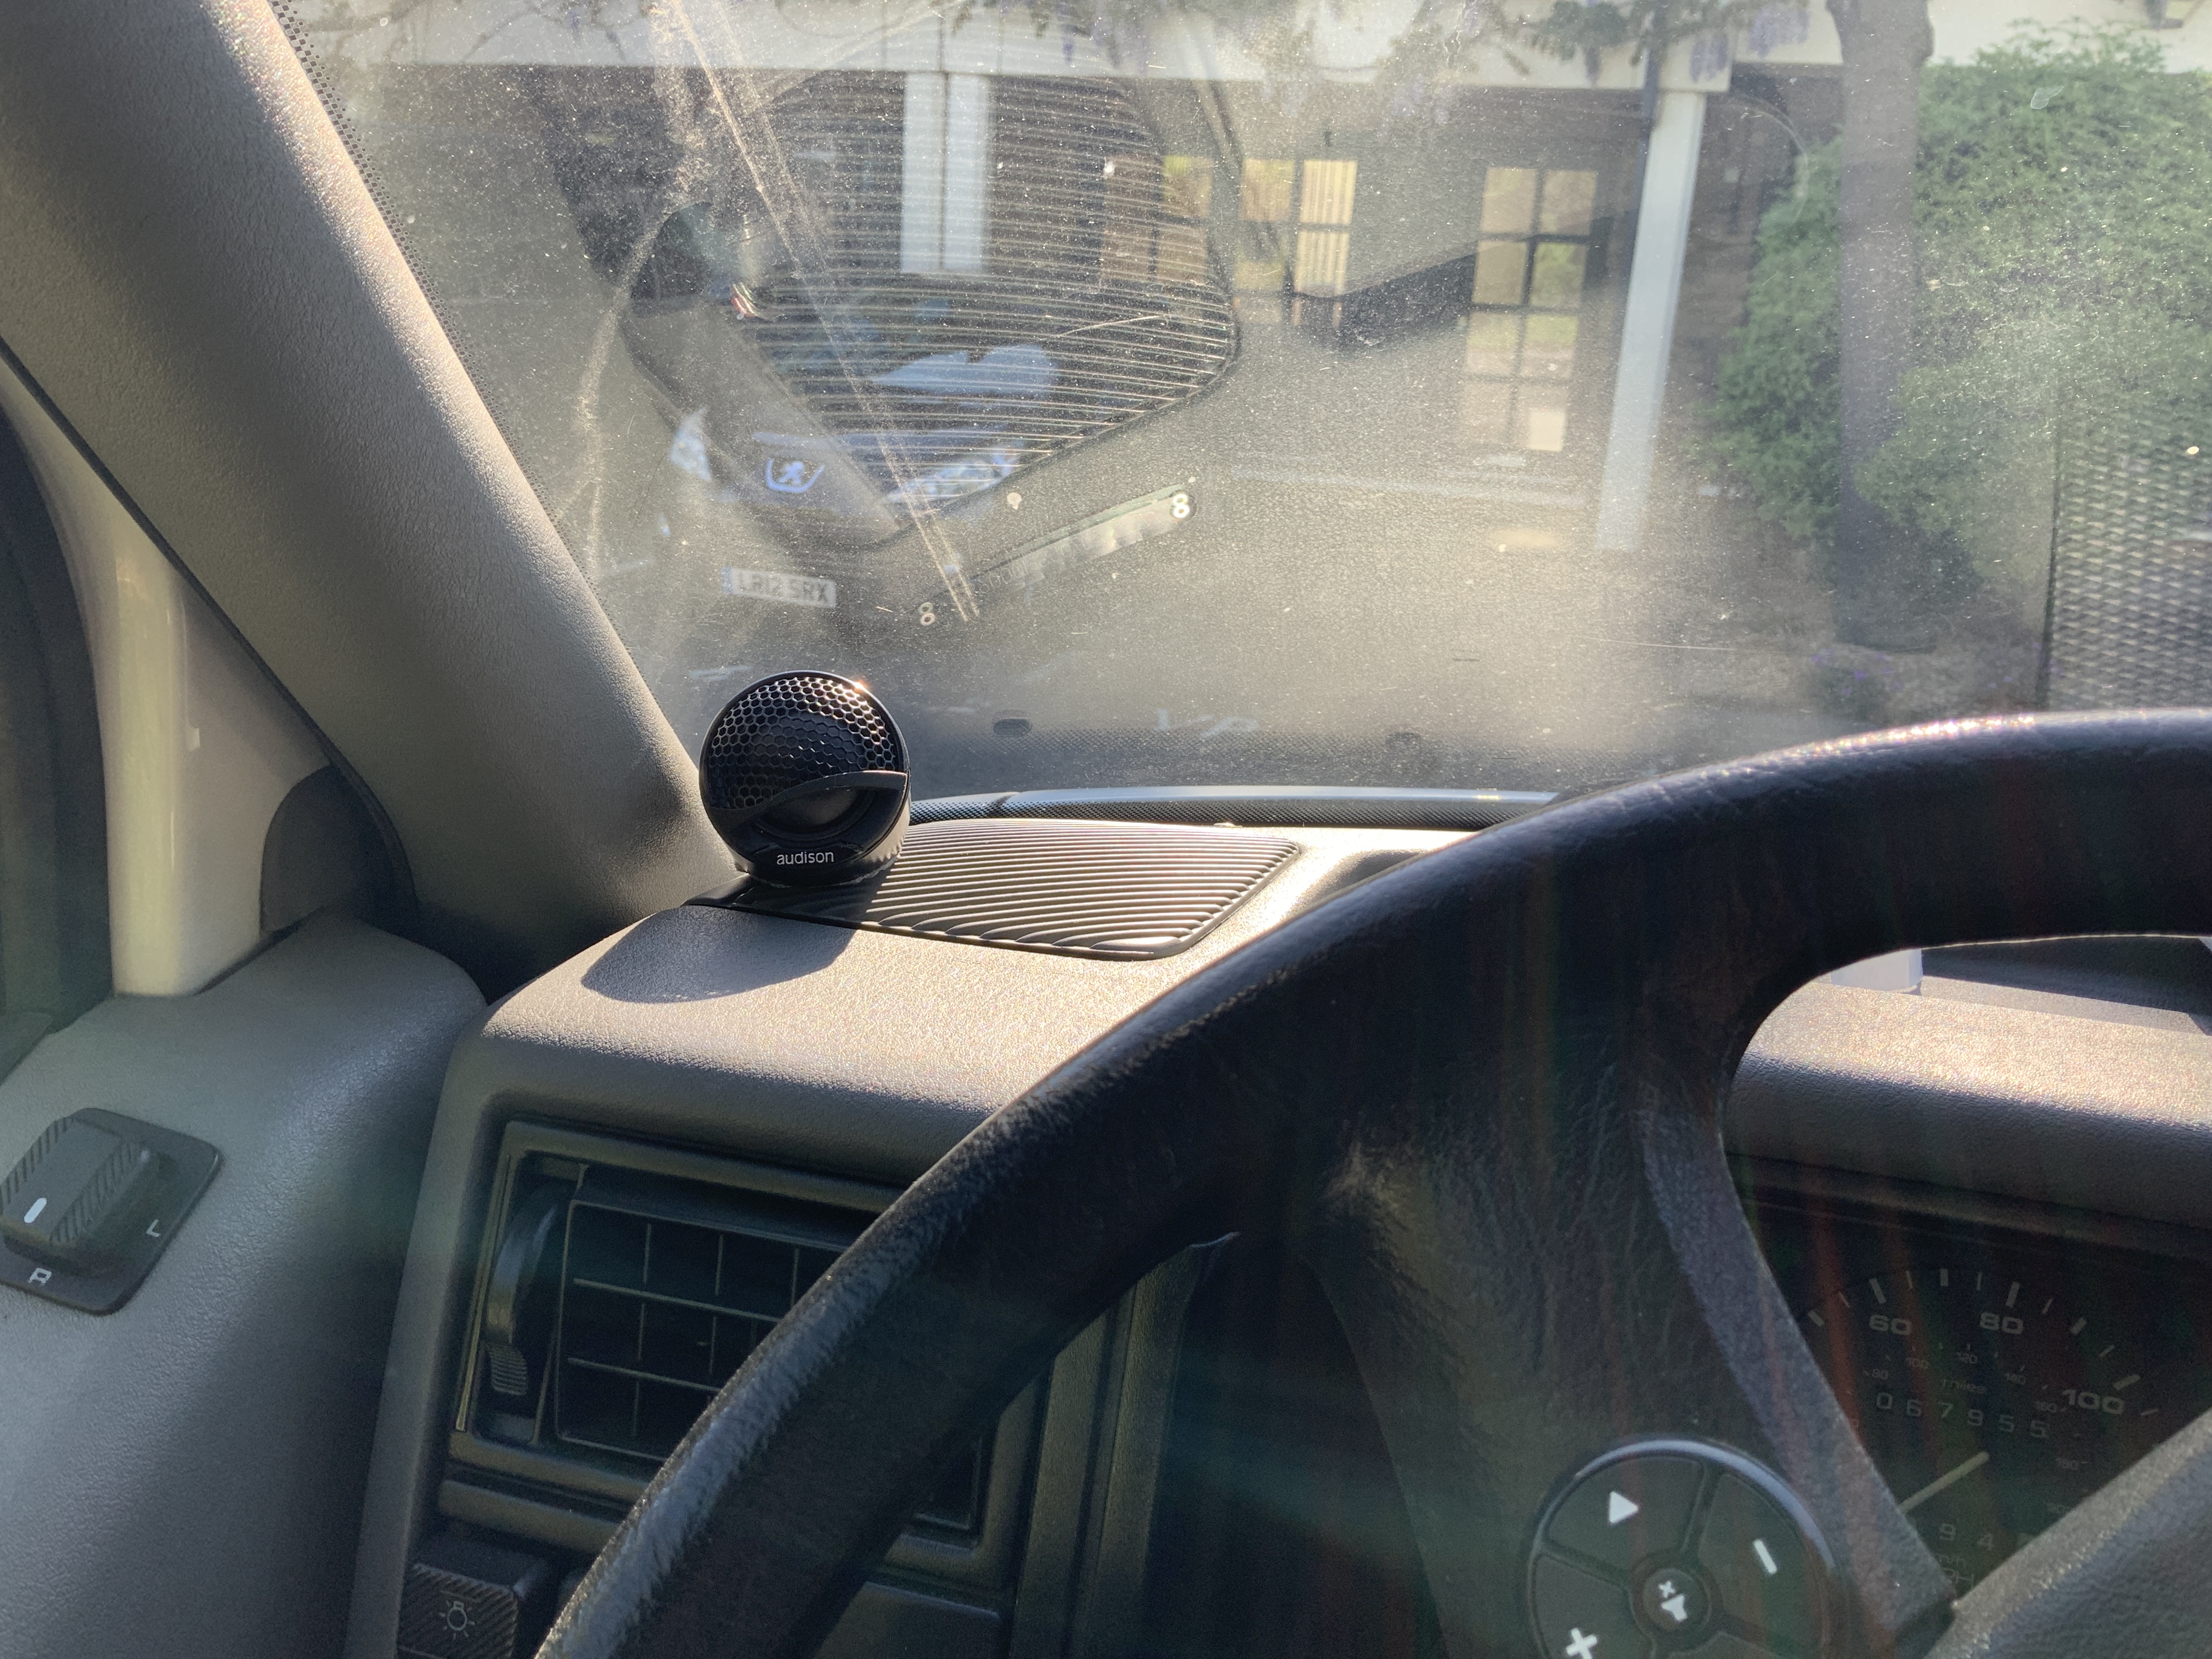
With some time on my hands, I went back to looking at upgrading to a tweeter/mid setup. Was considering going Hertz pro but really meant 6.5″ mids. Stumbled across Hertz’ sister company Audison selling what looks to be a cheaper variant of the Hertz legend tweeter with a 5″ mid so I got these ordered up!
Fitting of course is never quite as simple as one would hope. The holes don’t tally with the old ones and the old speakers used a plastic mounting ring inside of the door card which too small to allow the rear cage of the Audison in. First attempt I removed the door card to work out how the hell I was going to fit them. In the end, just took removing the internal plastic ring, drilling new holes and using the metal clips for the screws (which came with the speakers). for the second door, I didn’t even remove the door card and cut the internal plastic trim out with a dremel.
Arguably they just fit or dont fit depending on your point of view as they are a little deep in one corner. I padded out that corner with foam and it works.
The tweeters I decided to fit to the original tweeter speaker covers. The little pods came with the speakers and I simply drilled holes for bolts and put some foam betweent the two. Foam was also added to the grille undersides to stop them rattling. Of course nothing is simple and one of the tweaters stopped working. Not wanting to deal with the return issues, I pulled it apart and fixed a broken wire.
Finding locations for the crossovers was a challenge in itself. Ended up with one screwed into the side of the fuse box holder and one bolted under one of the airconditioning air boxes (using the screw that used to hold the thermostatic probe (which broke, is unobtainable and I replaced it with a fridge thermometer)
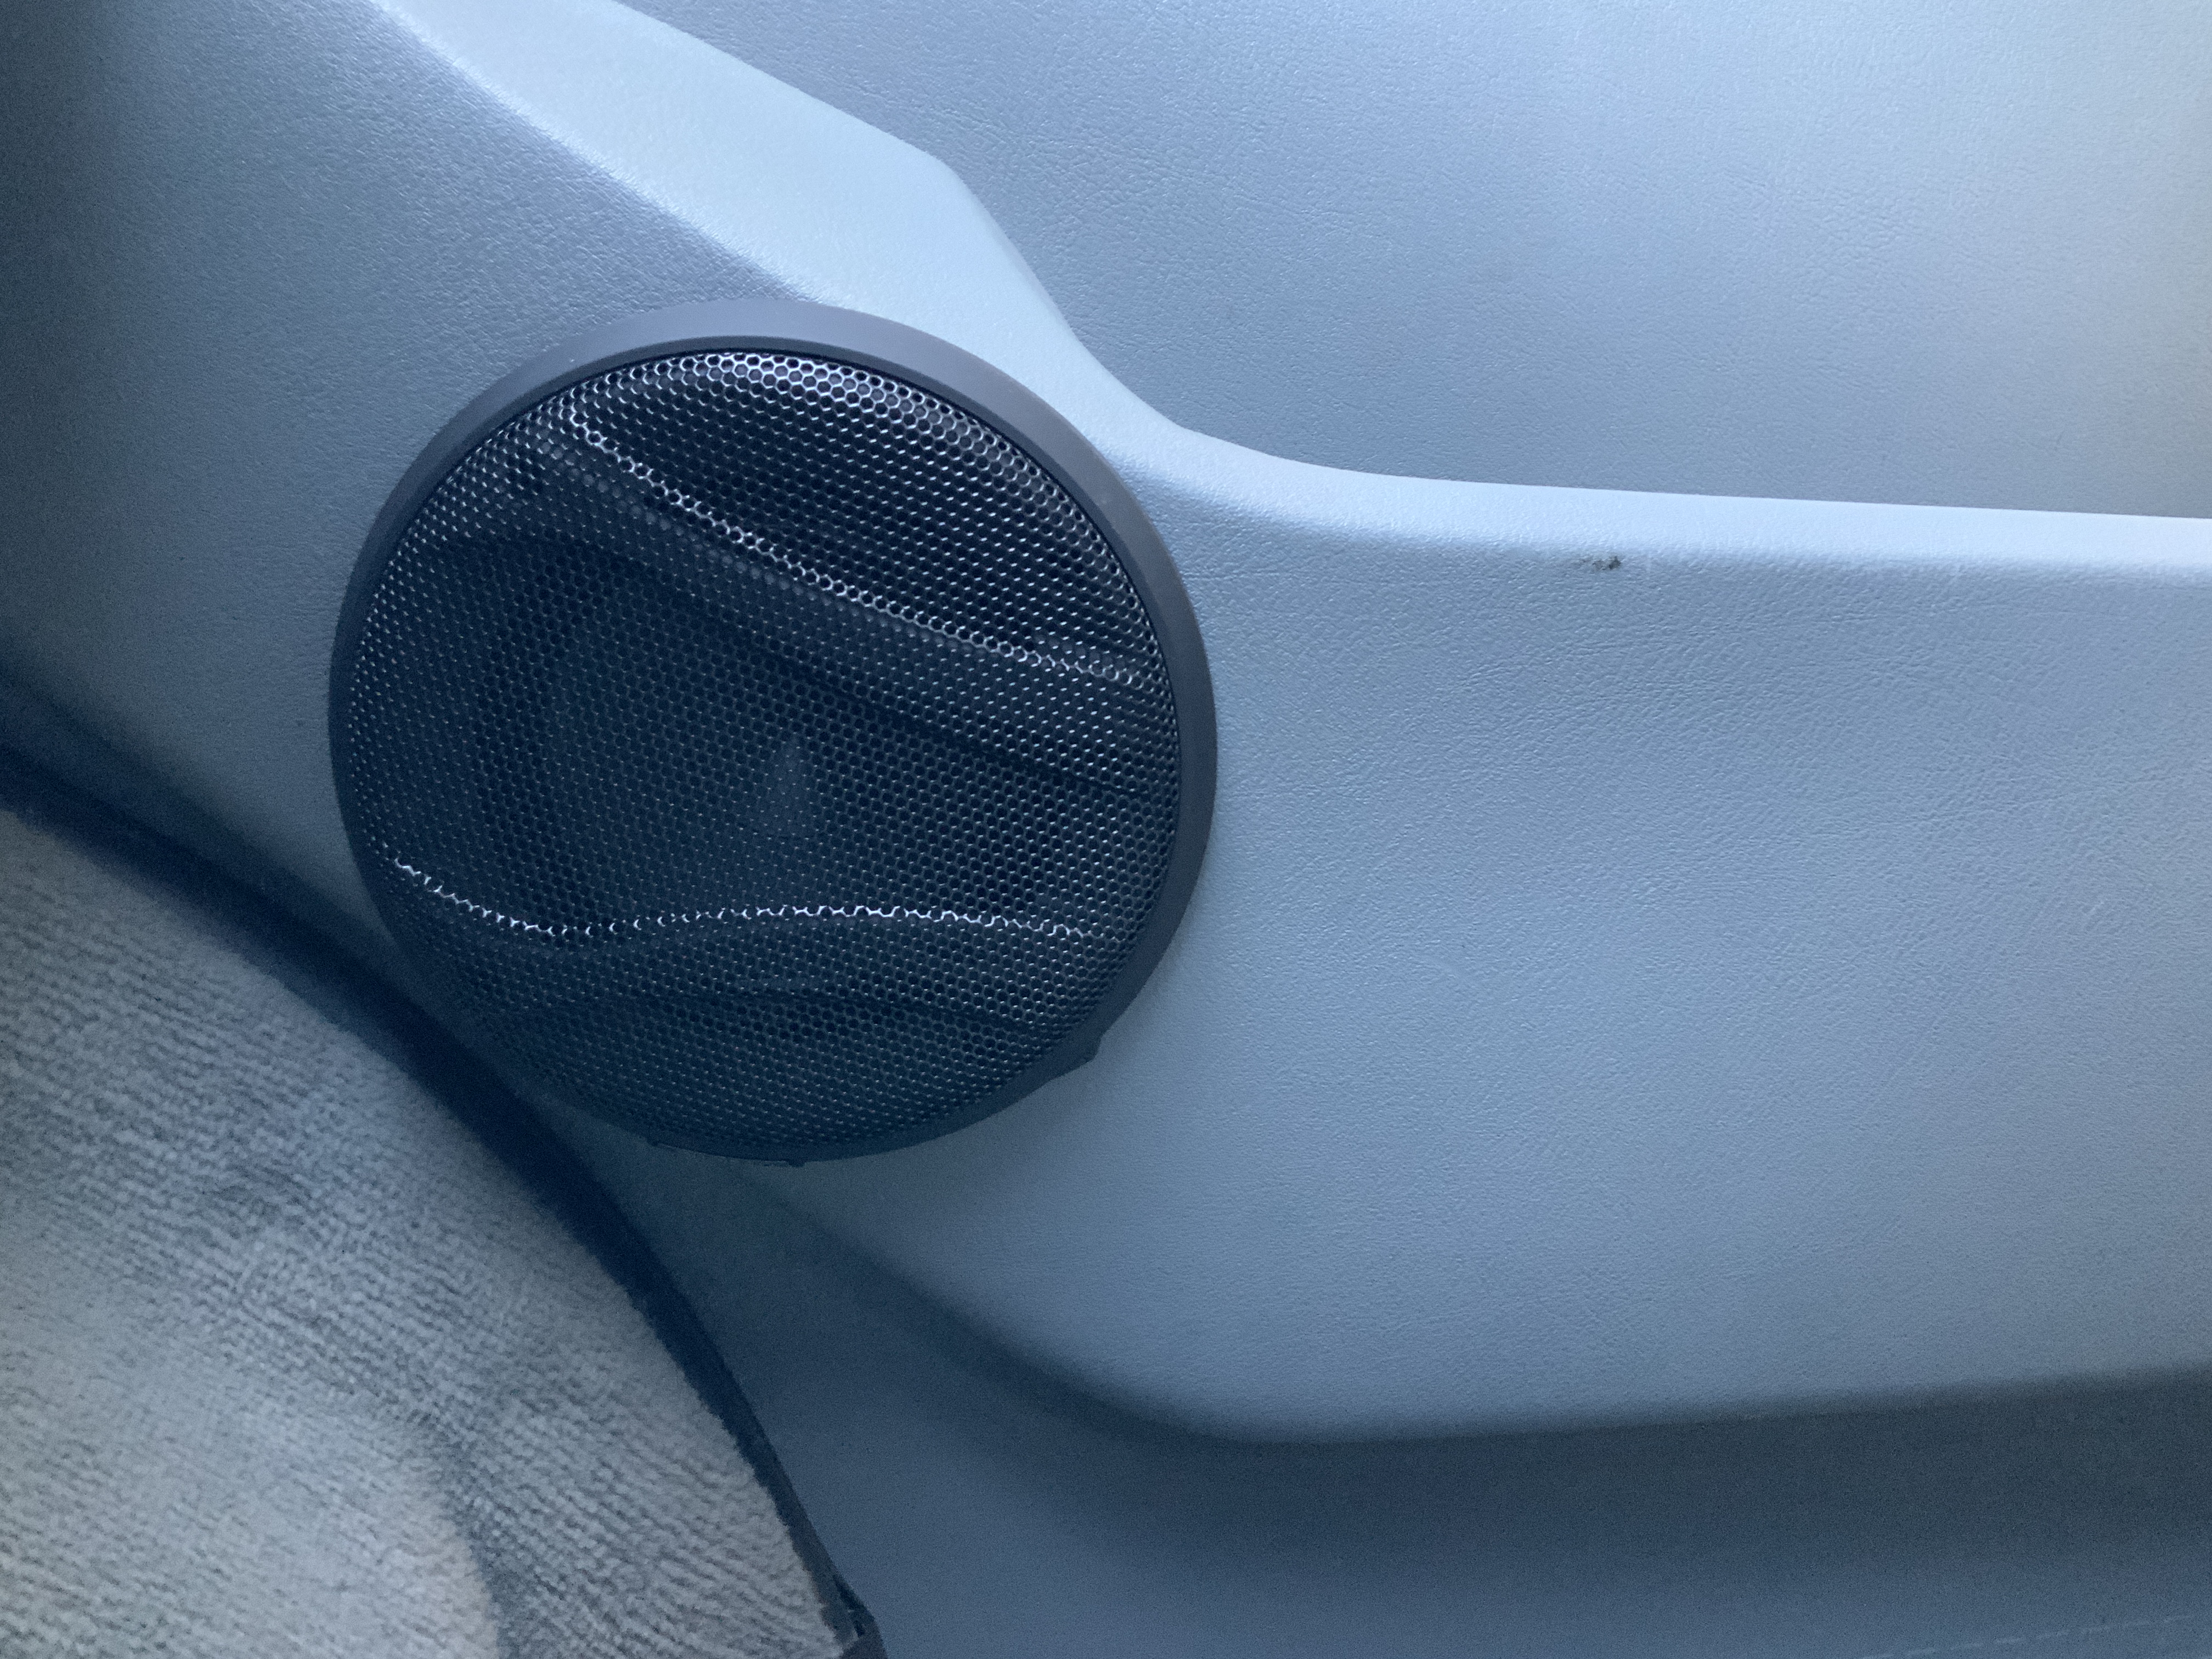
Connected up and as part of testing panned the audio all around the van. . . . to find that one of the rear speakers had now given up the ghost. One of the small wires that connect to the cone was faulty. Not having any Audison options in a 4×6 I put in a pair of Hertz DCX 460.3, which needed a little bit of modification to their plastic mounts to fit the original grilles but otherwise fitment was simple.
So to recap, when I got the van it had no coach electrics. The split charge solenoid had been replaced with a simple relay by the previous owner and this had died. The battery was completly flat.
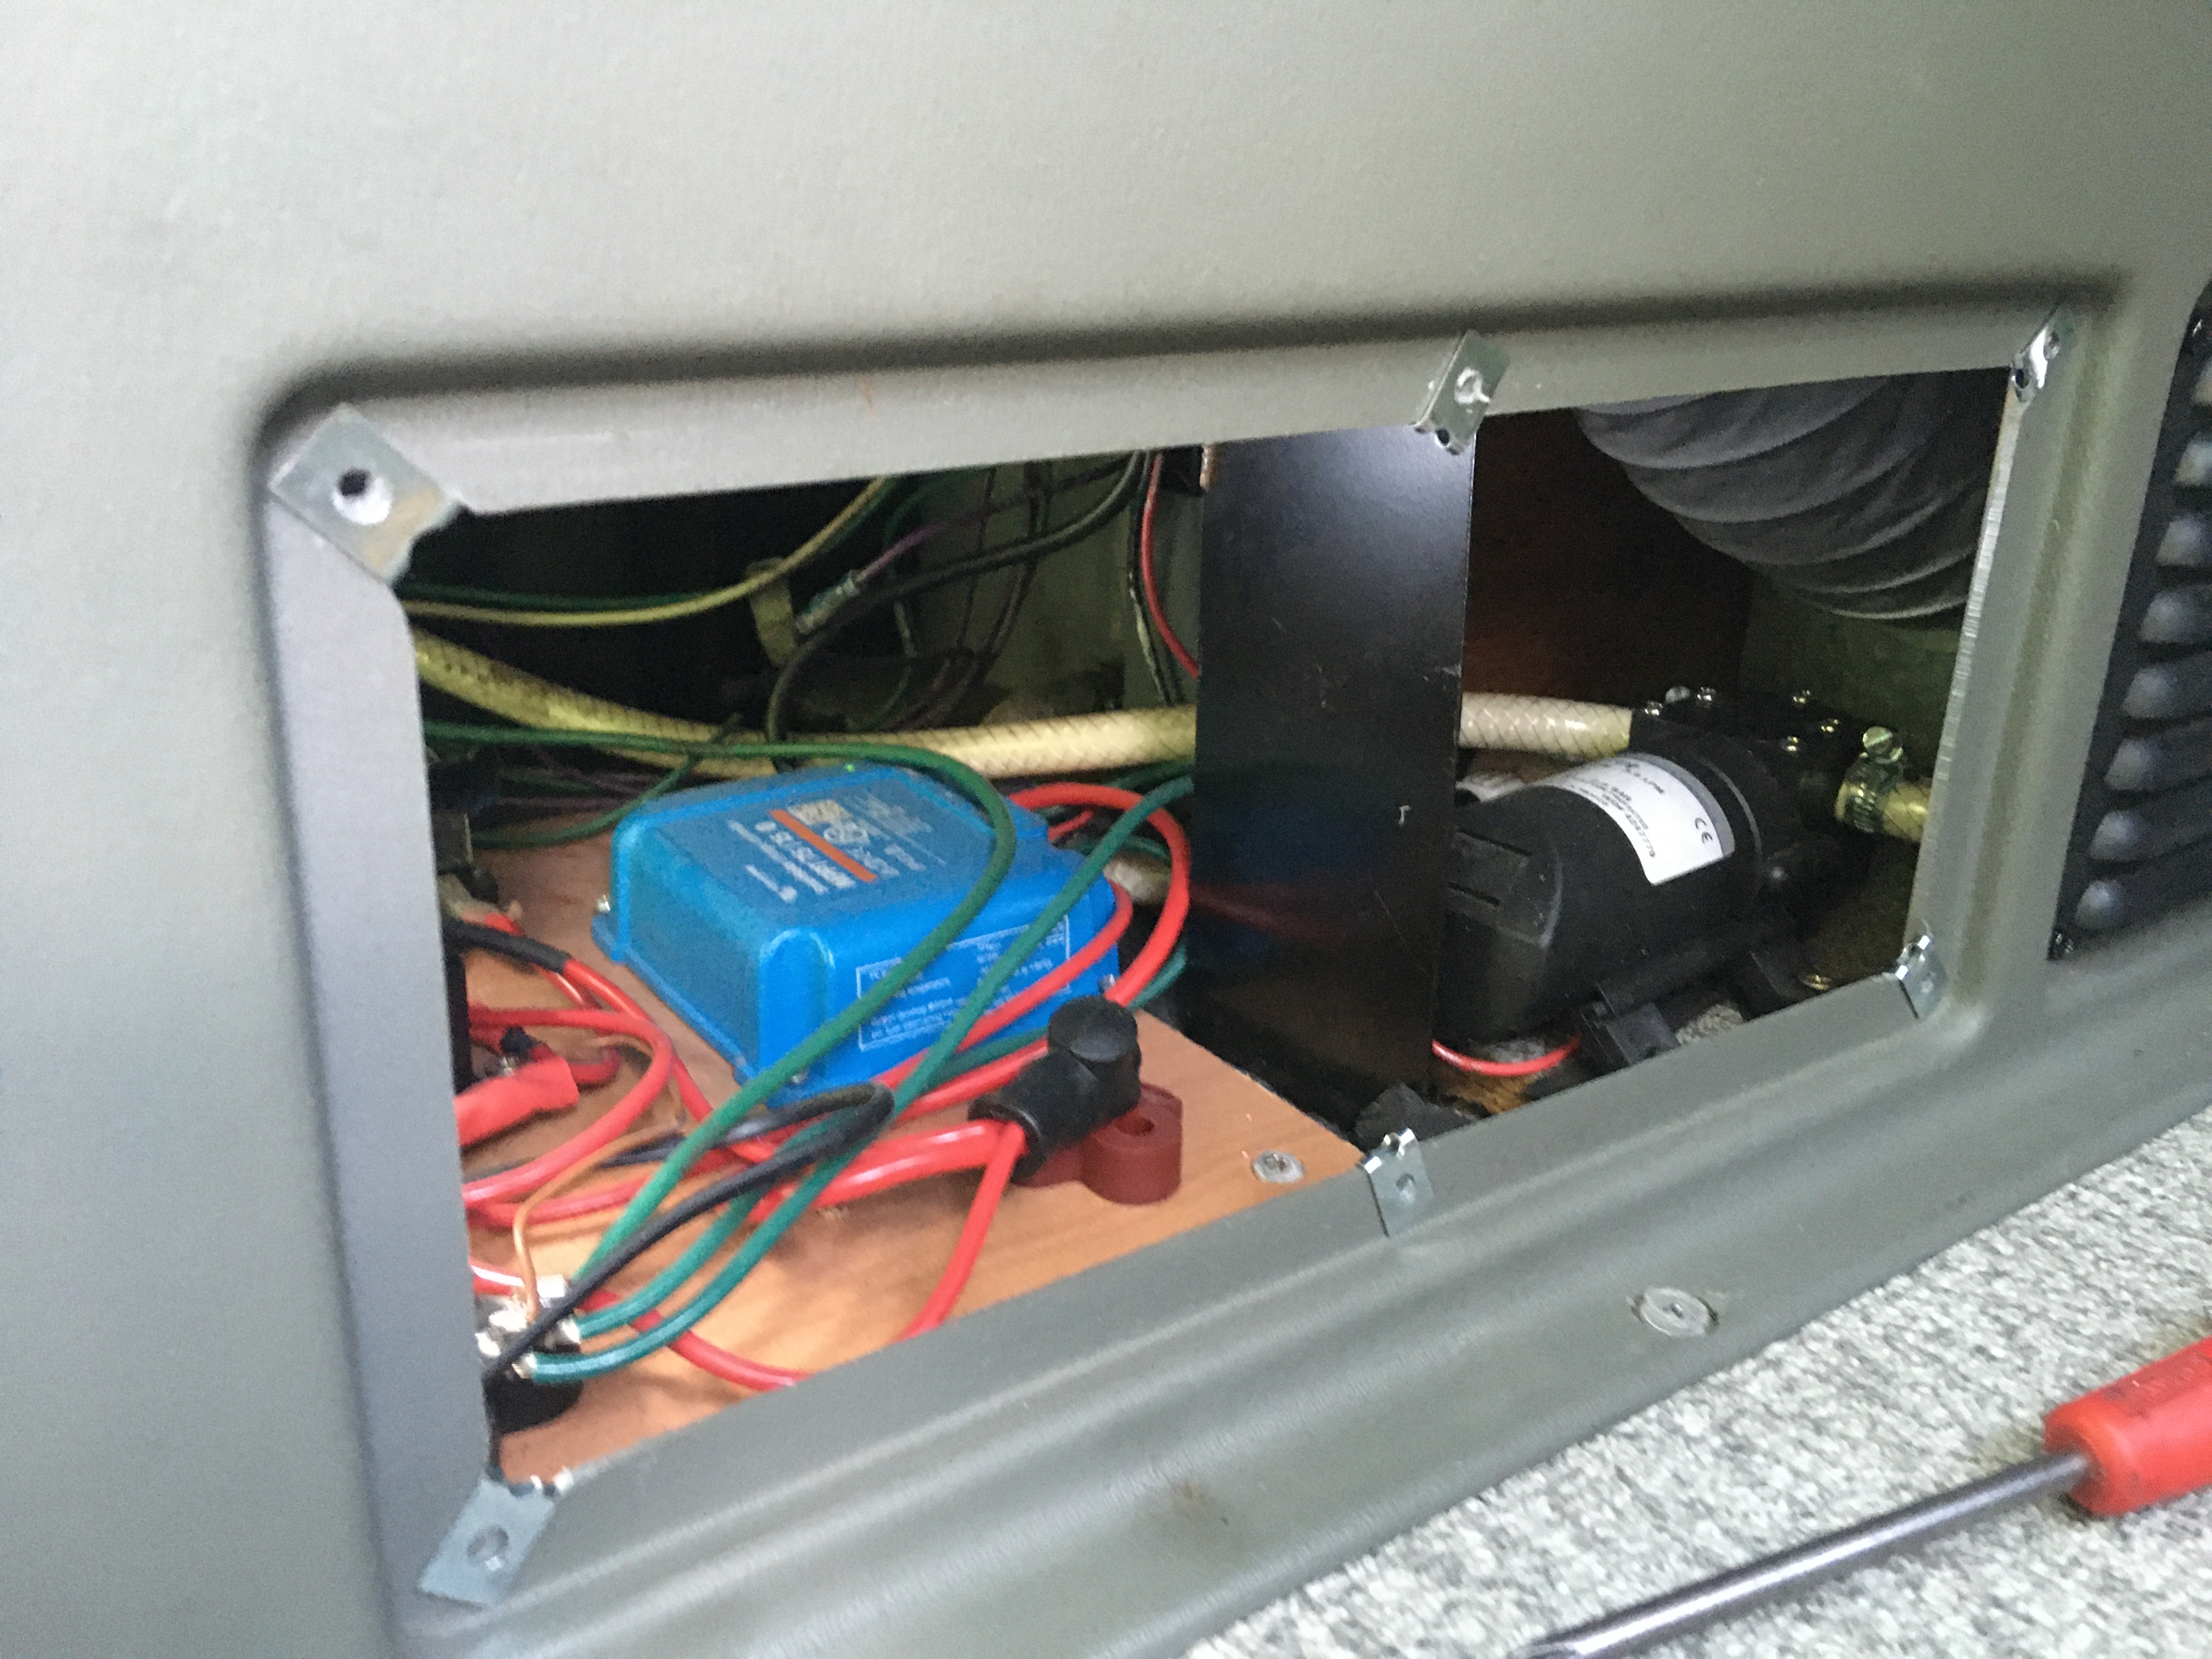
I needed a system that could power a C60i fridge and deal with the split charging (thanks to others for this one). I decided to go for an all in one unit (Ctek D250SA). This went where the converter/mains charger once was. I ripped out the converter as all the mains voltage had come out of the van (due to multiple reasons).
Working out what I needed power wise without any experience was tricky. I found places saying 1w solar for 1L capacity (this might work on a sunny day in a nice climate but is way low for general use). Ran into people using the C60 with 100w solar that thought it was self sufficient. I figured double the 1w – 1L would work out but was still low.
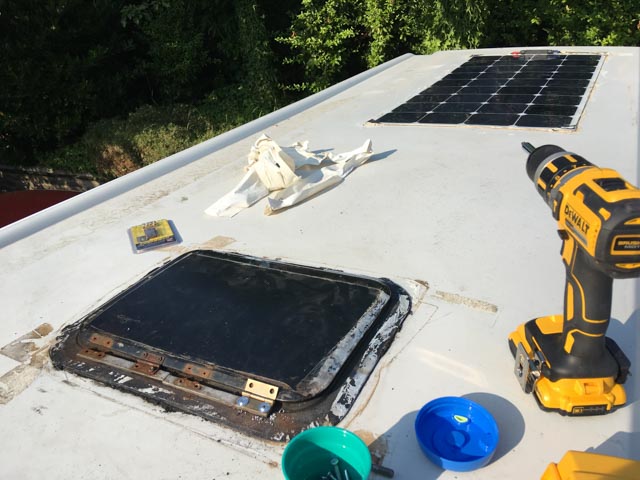
For the solar panel I got an ebay ‘140w’ semi flexible panel and bonded it onto the roof with the recommended adhesives. The CTEK gave the advantage that the system even kept the starter battery topped up and the all in one solution gave proper charging and MPPT all in one.
This did not include monitoring of any kind and who needs it as long as your system always provides enough power! The problem of course when it doesn’t.
I had volt meters on both batteries (as part of USB charging) but doesn’t give you any indication of what the panels are doing and when you are heading into negative production.
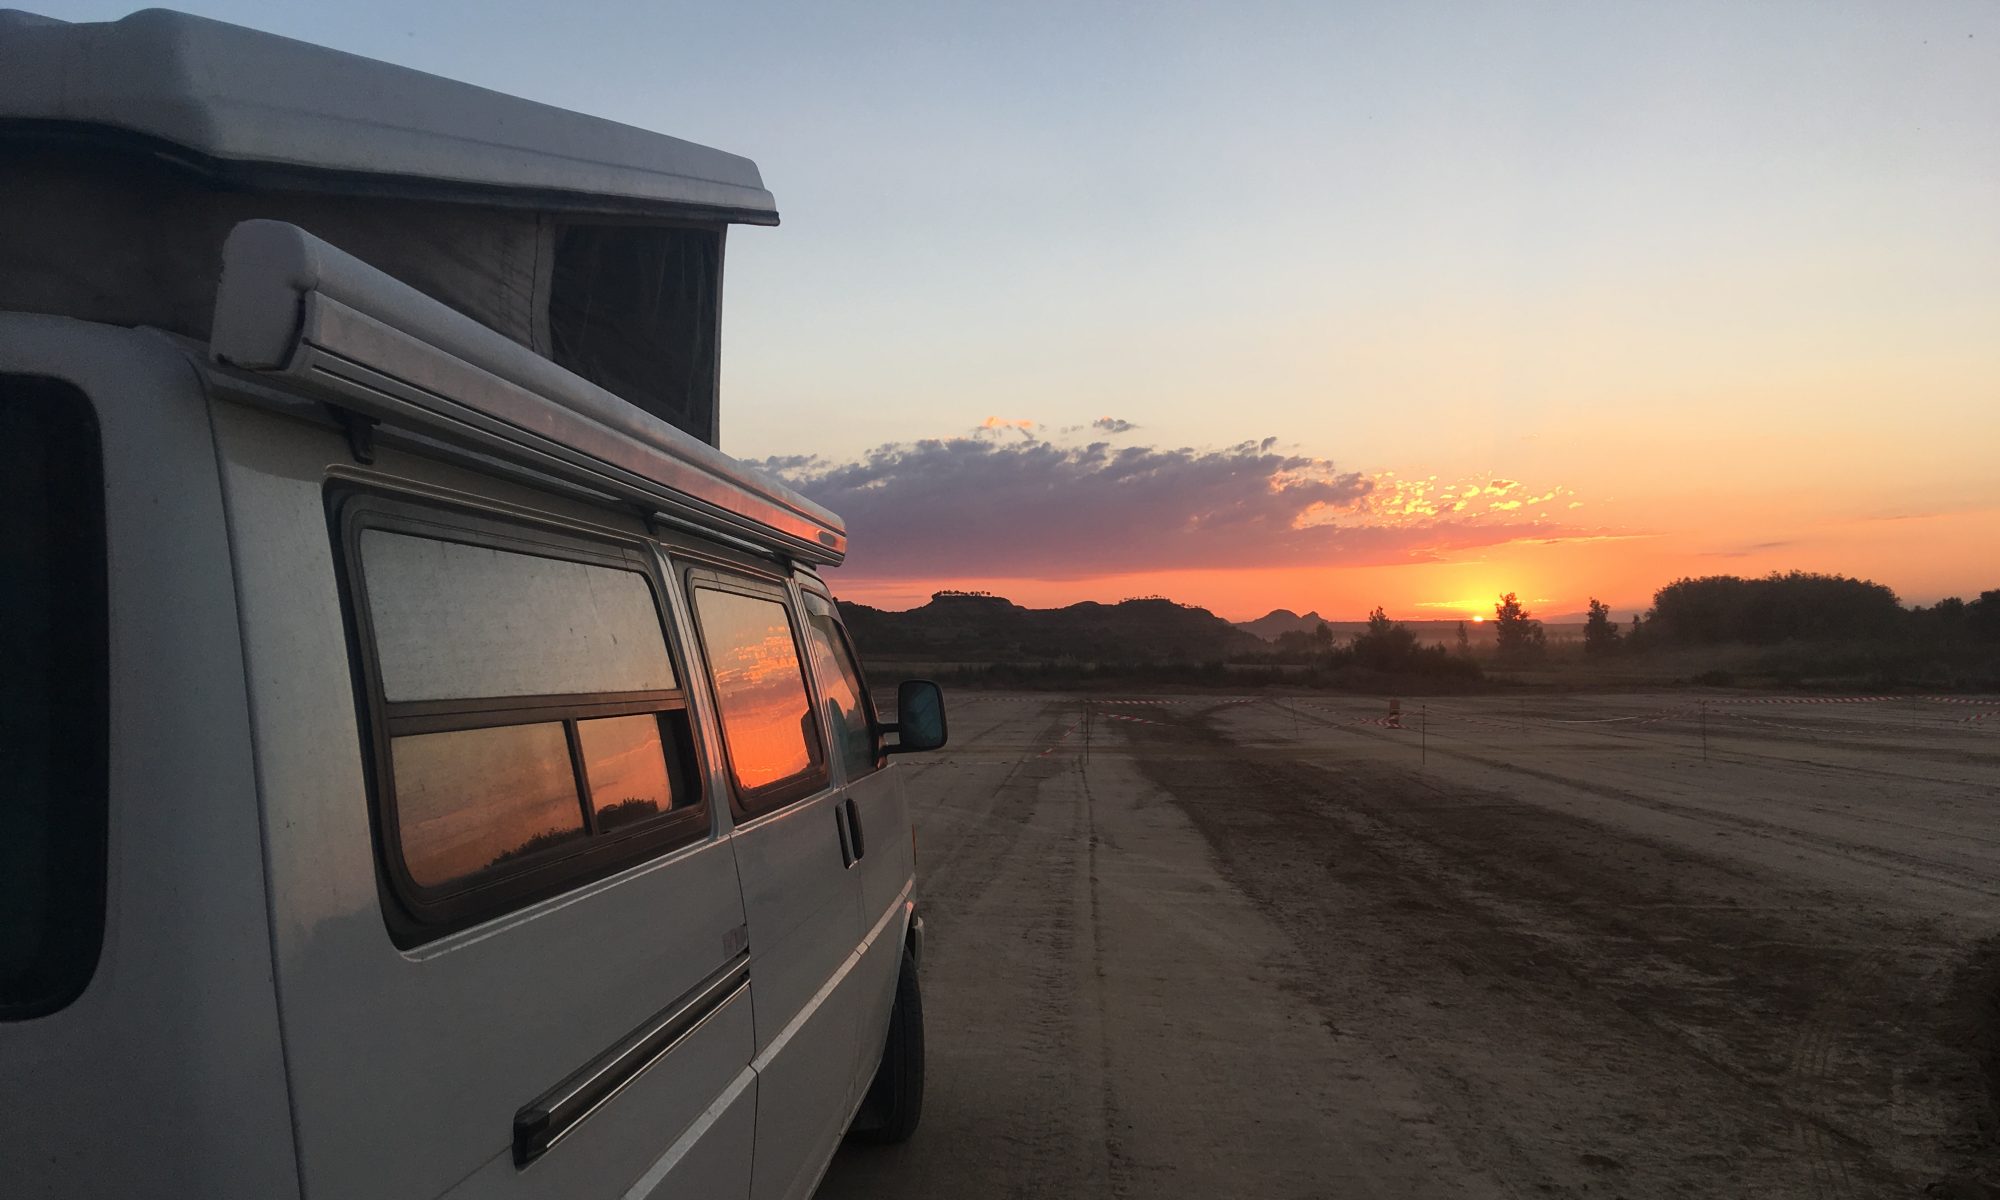
I managed 3 days in a Spanish desert in high heat with no problems, but my panels were facing south and I could keep the tent vents open most of the day to keep the ambient temps down.
3 or 4 days in a festival in portugal and the fridge was cutting out. Lots of sun but parking meant I had to be parked East-West, there was lots of dust from a road meaning we had to keep the tent vents shut and dust got on the panels.
Where to go next was a problem. The shape of the panel was too long to get a second on the roof, so in the end I had a complete system change.
Early solar instal with cheap ebay panel in the background while I tried to salvage the roof hatch that had rusted through hinges.